New Paper Bows!
This bow is perfect for gift wrapping, placing on vases, or even for the front of a card! It comes with an alternative center which you can see in the additional images. The bow can be sized to fit your needs and is compatible with both the 8x12 and 12x12 mats! See my blog for a tutorial!
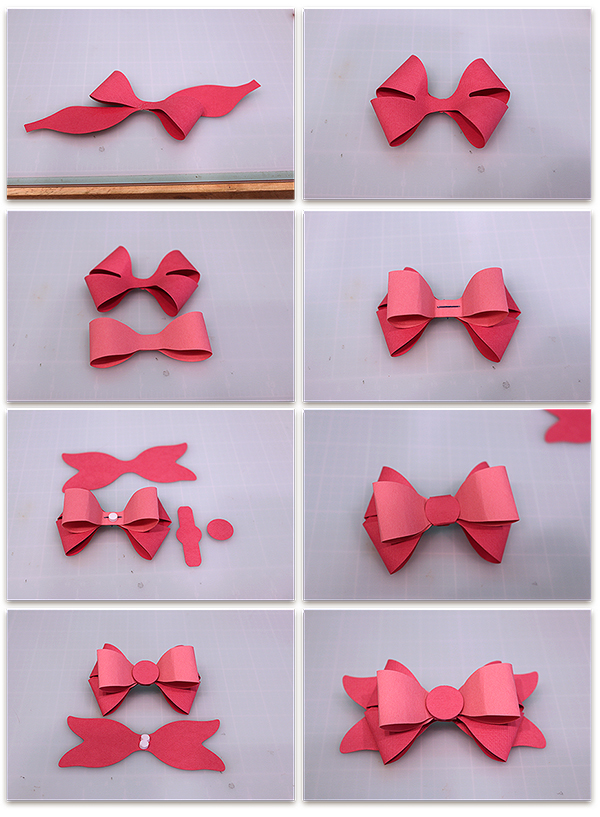
Here is the tutorial:

1. Cut out the pieces. Adhere the coordinating pieces togeter.
2. Starting with the large bow piece, adhere the tabs to the back of the bow with a strong adhesive (double-sided tape or hot glue). You can staple the center as well, it will be covered. Place the round center piece in the center of the bow and fold the edges over. Adhere in place. I use Scotch Quick-Dry Adhesive and these amazing little clips to hold it while it dries!
3. Adhere the bow to the tails with a foam adhesive. You can use the bow like this or you can cut the small circle center and tie a ribbon bow on top as shown below!

* * * * * * * *
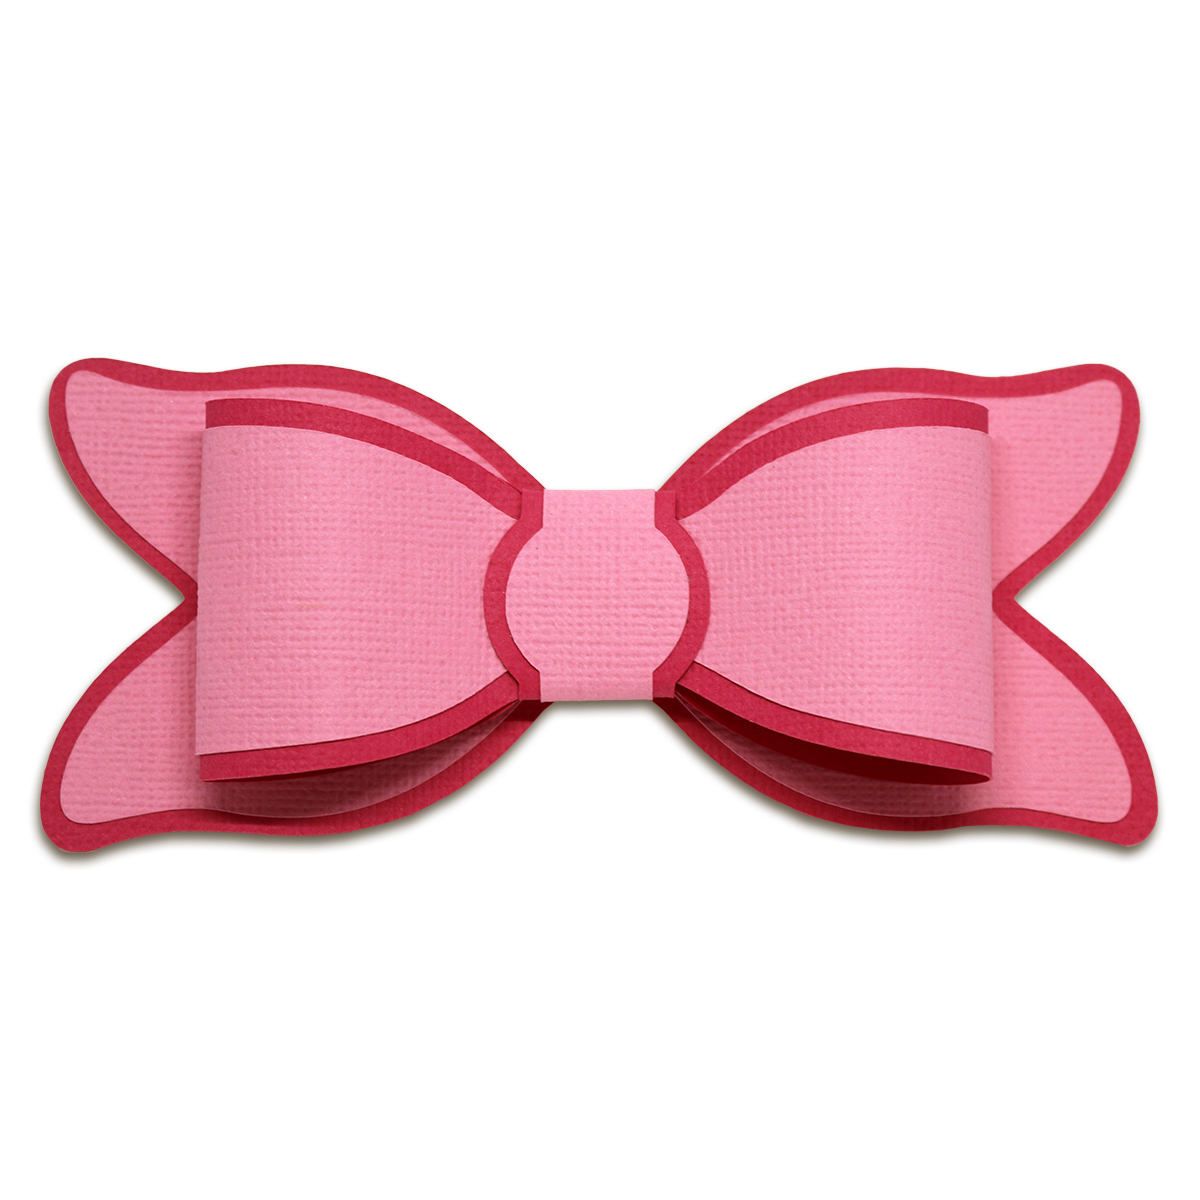
Puckered Layered Bow with two center options!


* * * * * * * *
Double Layered Bow
This bow only comes with the solid center.
You can use it with or without the extra circle piece.


* * * * * * * *
This bow is perfect for gift wrapping, placing on vases, or even for the front of a card! The bow can be sized to fit your needs and is compatible with both the 8x12 and 12x12 mats!


* * * * * * * *
Double Bow with Two Color Base
This bow has two different mat pieces for the base. As shown in the photo, the left side is a solid blue to match the lower bow piece and the right side is shiney to match the upper bow piece. This bow can be layered on top of itself as well as the bow pieces are different in size.


This bow has two different mat pieces for the base. As shown in the photo, the left side is a solid blue to match the lower bow piece and the right side is shiney to match the upper bow piece. This bow can be layered on top of itself as well as the bow pieces are different in size.


This image shows the contrast better for the color layers:


* * * * * * * *
Spil Bow with Tails


Tags:
3D
3D Bow
3D Paper Bow
Bits of Paper
Bow
Jamie Cripps
Jamie Lane Designs
JamieandJenn.com
Layered Bows
Silhouette
Silhouette America
SVG
SVG Cuts


0 comments