RV Outside Burners to Storage Drawer
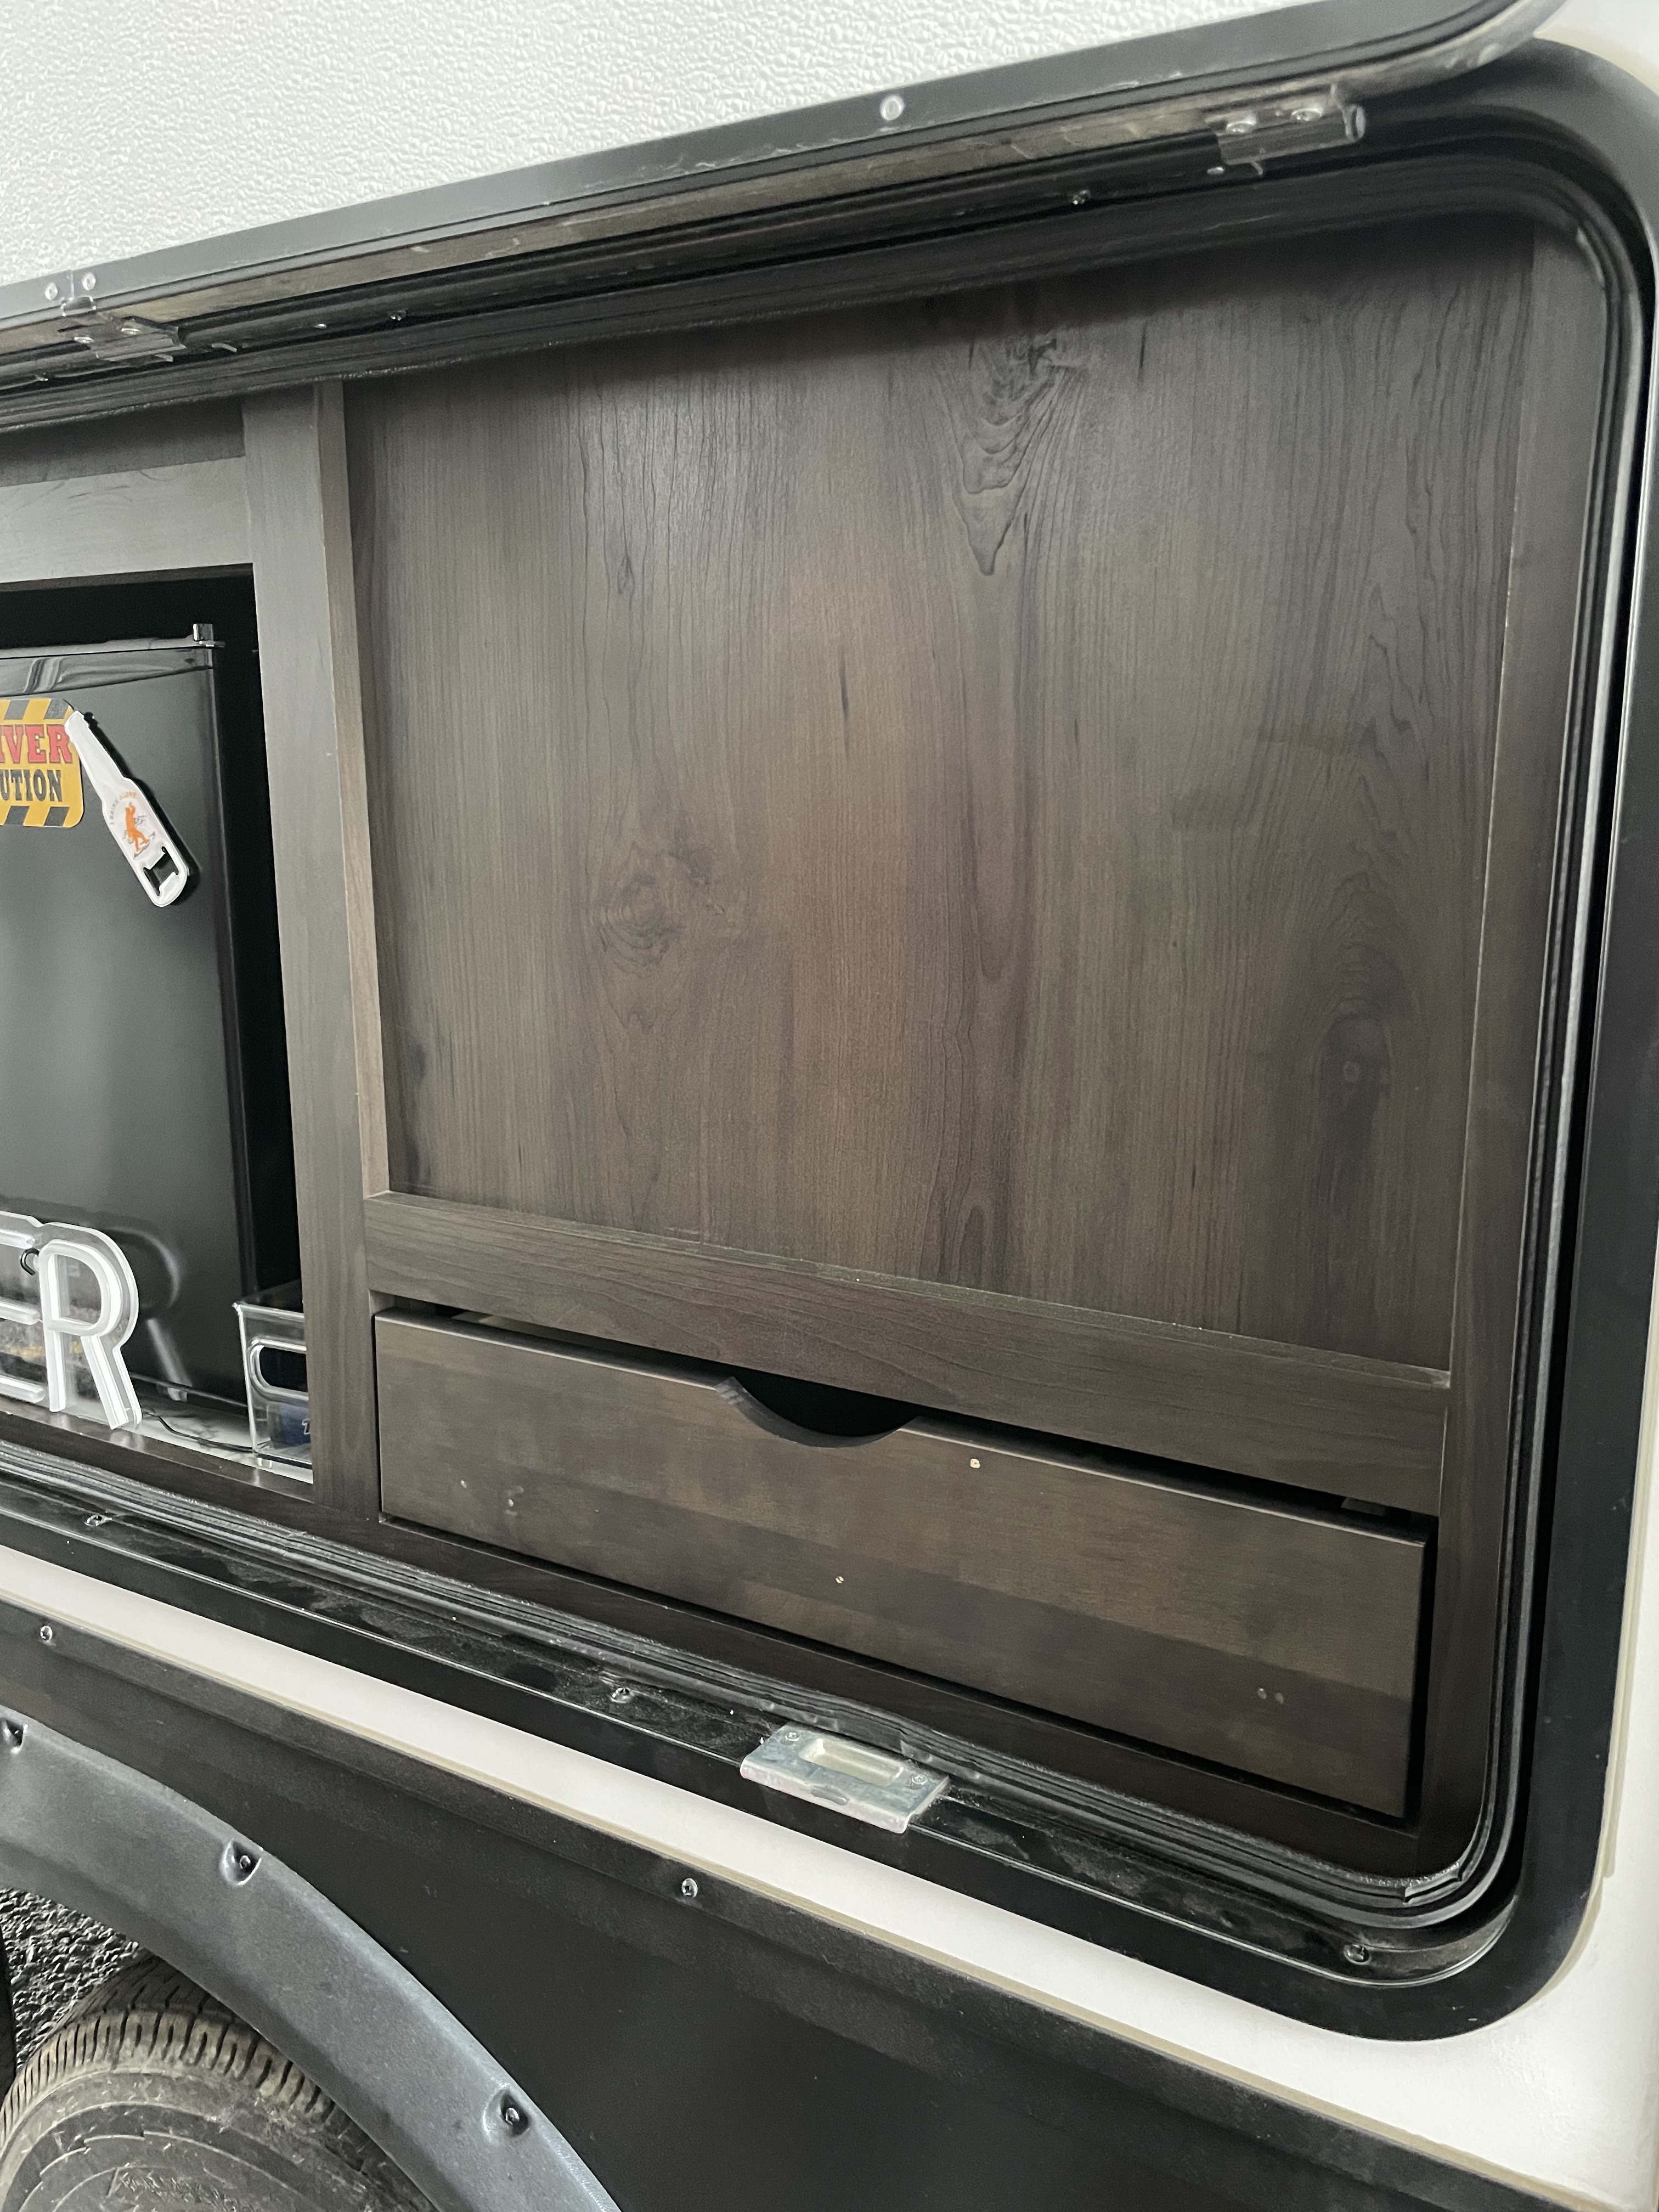
Hey guys! I am back today to share a new modification that we have made to our 2021 297RSTS Reflection Travel Trailer. We have owned this unit for about a year and a half and we realized that we just weren't using the outside burners like we thought we would. Ron tends to cook on his 22" Blackstone and I am usually inside making side dishes on the stovetop or in the oven. We used the burners once in the time we have owned this unit so naturally we started trying to find ways for better use this space which is when we decided we wanted to put a drawer in for paper products and plasticware but wanted to preserve the original burners in case at some point we wanted to put them back in or when selling to have that included.

What we purchased:
10' x 6' x 3/4" Wood
1/4" Plywood
Things we needed:
Measuring Tape|Pencil
Table Saw
Pocket Hole Jig (optional)
Sander
Wood Glue
Screws
Jigsaw (optional)
We used the Rails, Magnets, and face plate from the burner drawer
* * * * *
Overall measurement for the drawer 19-3/4" (W) x 17-1/4" (D)
We took apart the burner drawer and removed the face plate. To remove the face plate, we had to remove screws as well as staples. It took a little bit of prying to get those staples out. Ours had staples from the outside going in so we just sawed those off rather than pulling them out.

With the table saw we cut:
Two wood pieces at 17-1/4" (D) x 4" (H)
Two wood pieces at 18-1/4" (D) x 4" (H)
With the size of wood we purchased, we cut one of each
and then cut those into two pieces (4" each).
For the drawer bottom, we cut the 1/4" plywood to 18-5/8" x 16-1/8".
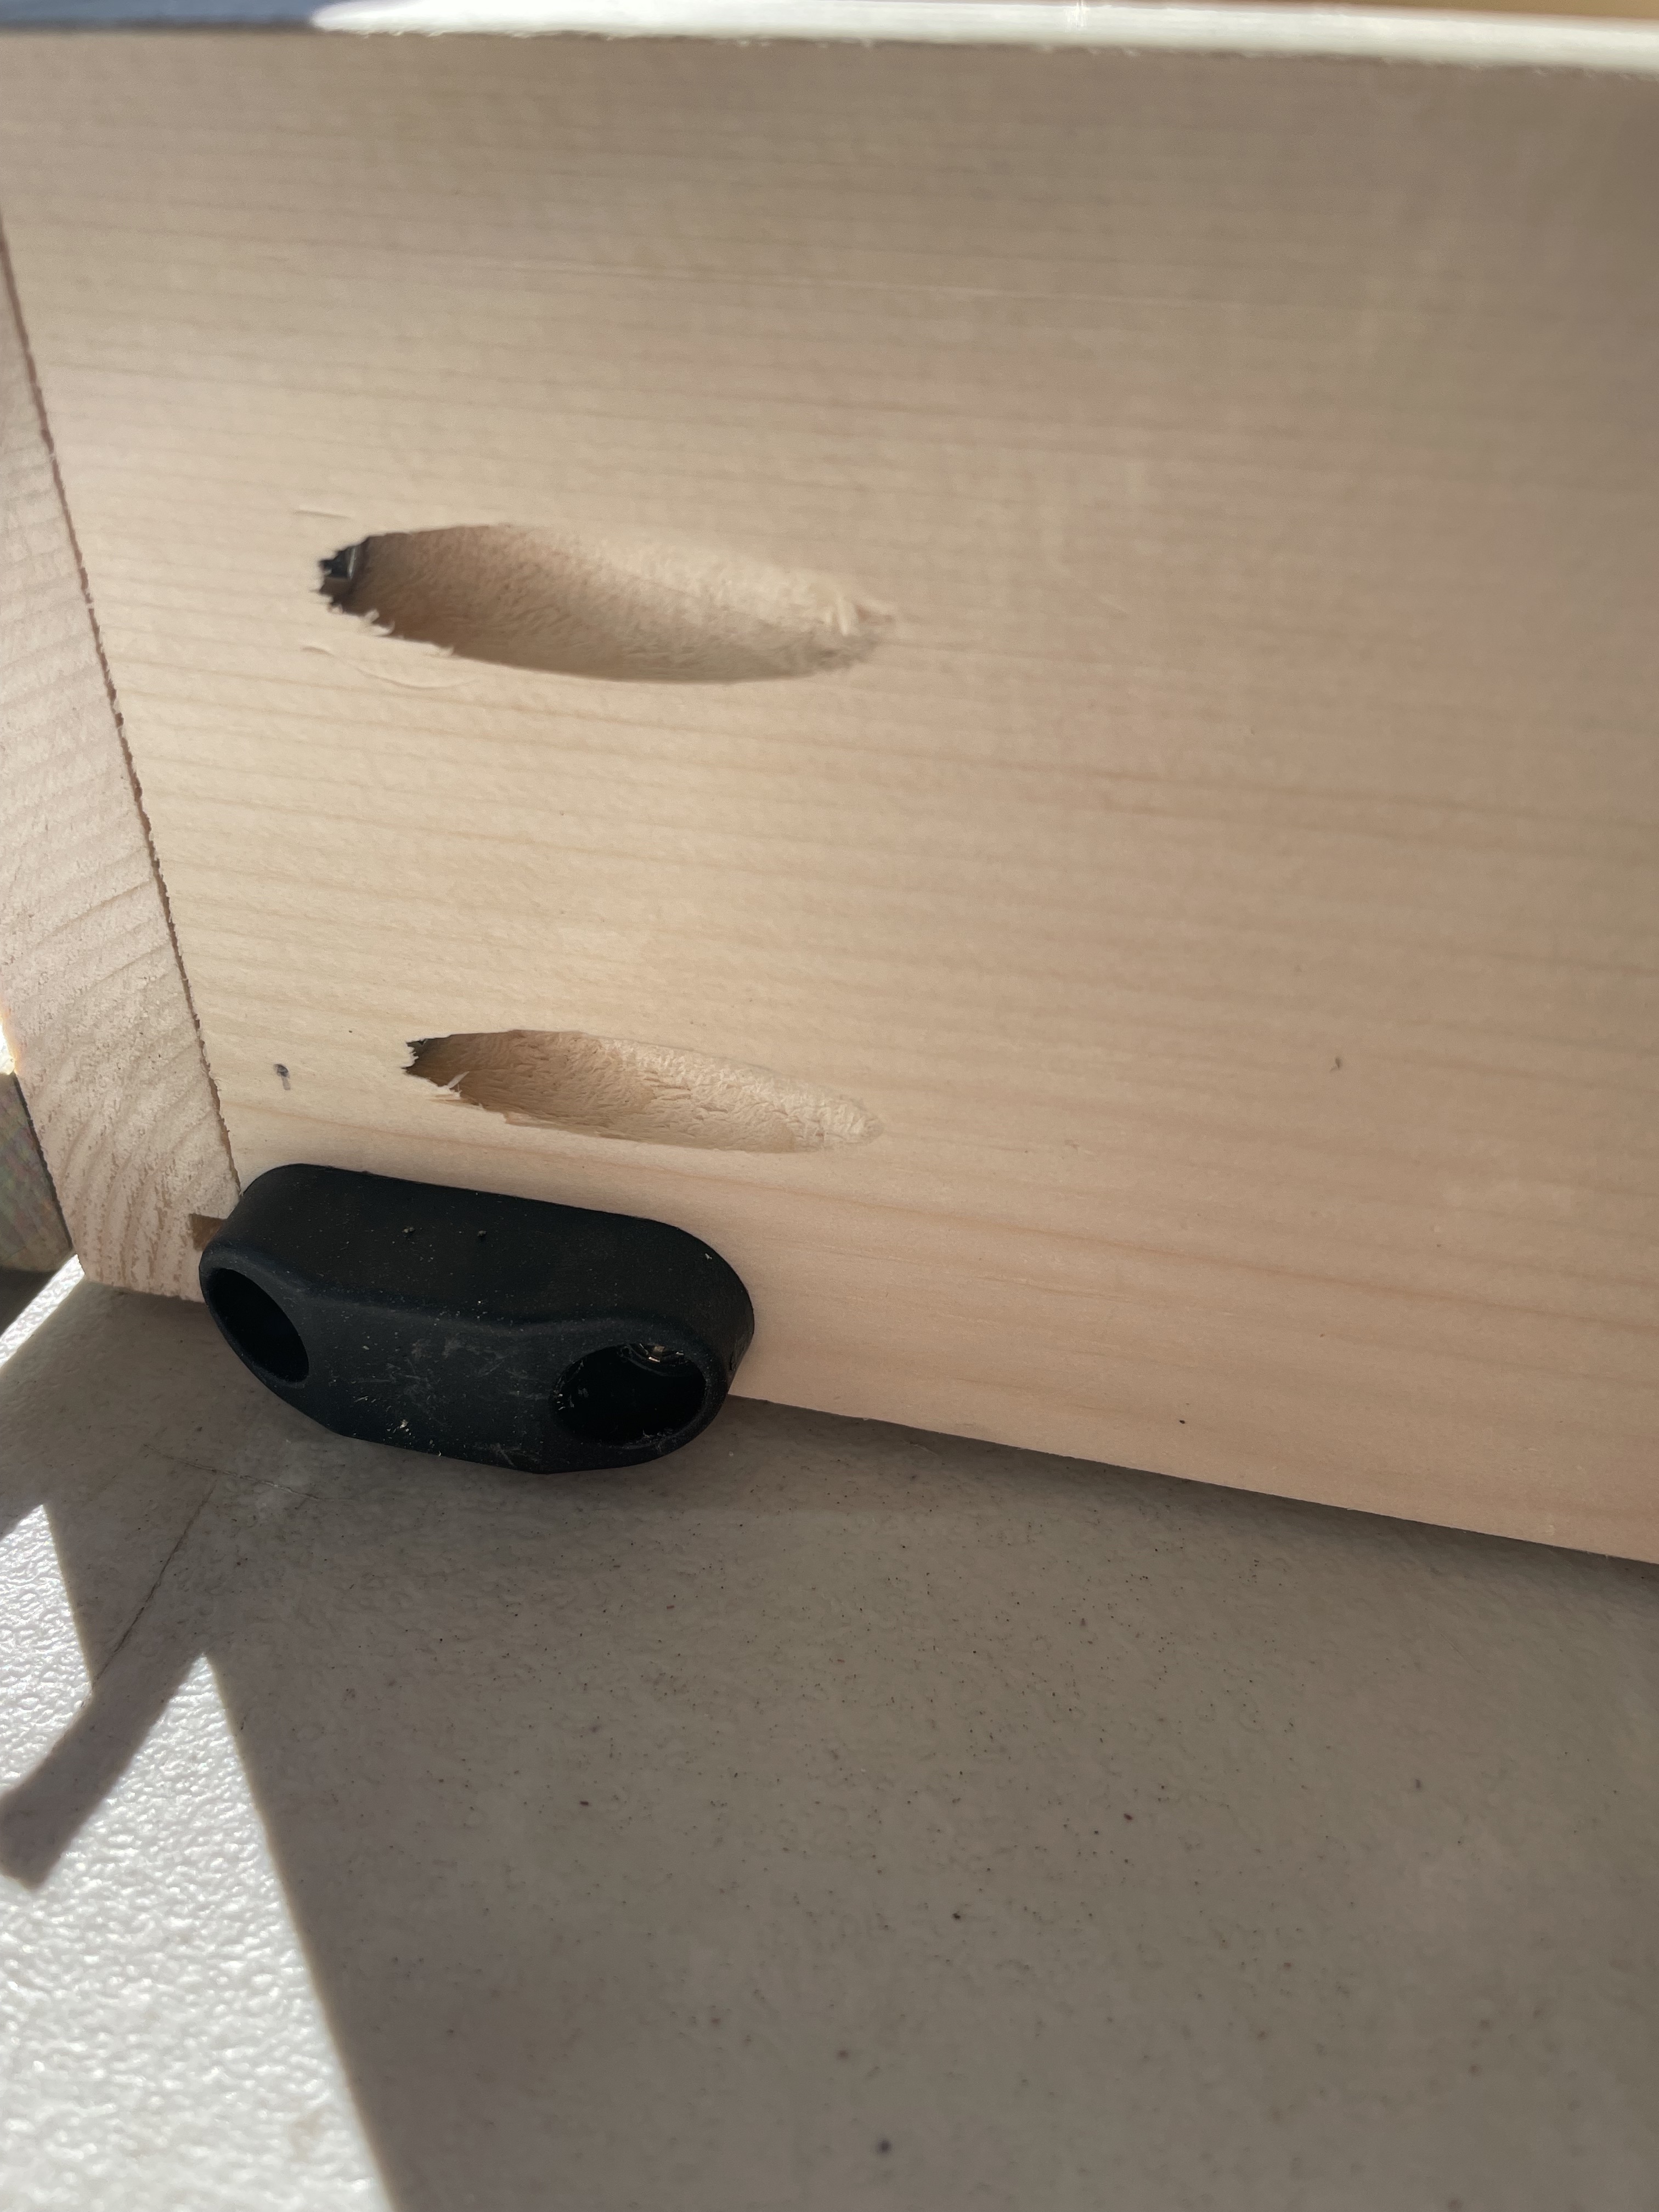
We used our table saw with the saw blade dropped to cut a 1/4" slice into each piece of wood for our plywood cut to sit in. Then we used our pocket jig to make holes so that our screws would not show in the drawer. The jig holes point toward the back of the drawer and the front ones are covered by the drawer face plate.
We made ours 4" (H) because we didn't want items to fall out, you can definitely go shorter if you prefer but this was about as tall as we could go!
Drawer assembled:


We then attached the magnets from the burner drawer. You will want to measure where yours sit before removing them and place them in the same measurement on the new drawer to ensure they line up so it will close securely!
Then attach the face plate of the drawer!


0 comments