This Tri-Shutter card is A2 in size, approximately 4" x 5-1/2", and comes with the card base with score lines and the mats and paper embellishments shown.
https://jamielanedesigns.blogspot.com/2022/04/a2-tri-shutter-cards.html
If you need a tutorial for the folding of the cards, you can find that HERE.
Good Morning! Today I am sharing four new cards. These cards are approximately 3-1/4" x 7-1/4" and have a pocket to hold money, checks, or even folded letters! The cards come with the card base (which include the pocket folds), the card mat, the sentiment pieces shown, and an envelope. All pieces are compatible with both the 8x12 and 12x12 mats. The main sentiment pieces layer on each other.
Here's the tutorial:
1. Cut out all the pieces. Fold the card base on the score lines. Note: The pocket can go on either side of the card depending on how you place the paper on the mat. If you want the card pocket to face this way, place your paper you want down on your mat. If you want the pocket on the left, place your paper you want up on your mat.
2. Place adhesive on the two tabs. Adhere the long tab on top of the short tab.
3. Adhere the pocket to the bottom of the card as shown.
4. Insert your money, check, or letter.
5. Your card should look similar to this now.
6. Adhere your last letter on the card mat.
7-9. Continue adhering the letters until all pieces are on. Adhere the side sentiment.
10. Place foam adhesive on the back of the mat and adhere to the card base.
Here is the tutorial for the envelope:
 1. Cut out the envelope piece. Fold on the score lines. Place adhesive on the long tab and the shorter bottom tab.
2. Adhere the tabs to the envelope side.
3. Insert your card and adhere the last envelope flap to close.
The Pop-Tone Cardstock and glitter paper cut beautifully in my digital die cutting machine! Just look at those perfect little holes within the sentiment lettering!
Here's the tutorial:
2. Adhere the mats to the appropriate spaces on the card base.
3. Adhere the banner cuts on the card front using foam adhesive, centering. Adhere the sentiment on to the sentiment mat.
5. Cut a piece of twice and push each end up through the holes of the front then push them down through the back holes.
6. Tie the twine in a bow to close the card.
These cards are A2 (4-1/4" x 5-1/2") in size and come with all the paper elements shown. The cards are compatible with both the 8x12 and 12x12 mats.
This card follows the same steps as above. I just wanted to show you the diamond plate pieces and the Happy Birthday to You (HB2U) sentiment. I used foam adhesive behind the B to lift it, the other letters are cut in the label.
Today I am introducing three new A2 (4-1/4" x 5-1/2") cards that have fold back sentiments! Each card comes with the card base (which includes the sentiment in the cut) and a mat to add a decorative paper behind the sentiment! These cards are compatible with both the 8x12 and 12x12 mats.
I also have two new decorative elements releasing this week which
happen to be perfect for these cards!
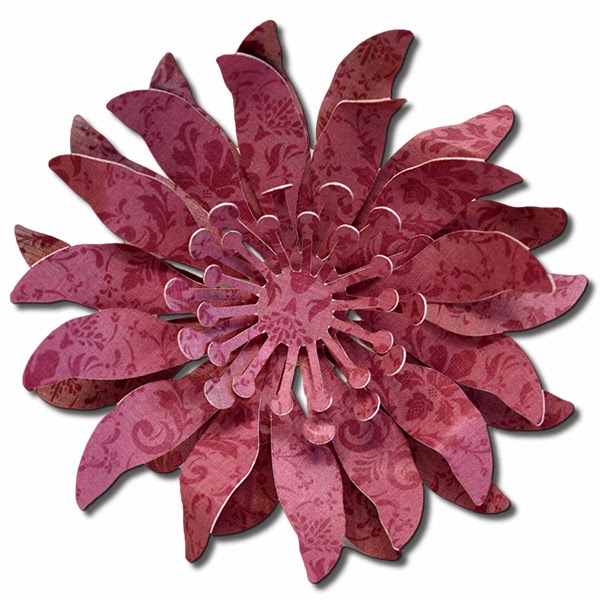
This flower can be sized to fit your needs and is compatible with both the 8x12 and 12x12 mats. The file comes four cuts; two petal sizes and two center pieces.
This file can be sized to fit your needs and is compatible with both the 8x12 and 12x12 mats. The file comes seven cuts; one ruffled heart shape and six heart cuts with built in score lines.
Here is a tutorial for recreating this card:
1. Cut out the Love card and the 3D Ruffled Heart. Fold on all the score lines.
2. Adhere the mat on the Love card and place adhesive on the small tab and on the letters.
3. Fold the letters back on to the mat and adhere in place.
4. Your card should look similar to this now.
5. Gather your heart pieces.
6-8. Adhere the hearts together using just one side of the heart. Continue until you have them all in place.
9. Adhere the heart to the ruffled heart backing.
10. Tie a ribbon around the card as shown.
11. Adhere the heart on the card, fluff out the pieces of the heart to make it full.
 I just love these colors together and the
canvas compliments add so much texture!
I just love these colors together and the
canvas compliments add so much texture!
Here is a quick tutorial:
1. To create the card, trim a piece of white cardstock to 8-1/2" x 5-1/2" and
fold in the center to form a 4-1/4" x 5-1/2" cardbase. Round the bottom
two corners as shown.
1/4" making sure to keep the brown border from the paper. Round the two
bottom corners.
3. Adhere to the top edge of the cardbase, centering as shown.
4. Gather your Saddle Ink Pad and cut a small piece of the coral colored
on the paper.
5. Trim the sentiment from the paper leaving a small coral border as shown.
adhere it to the bottom of the patterned paper as shown.
top of the flourish.
8. Adhere the "Thanks" sentiment using foam adhesive as shown in the
photo.
9. Finish the card by punching two scalloped borders in the coral cardstock
and then adhering ribbon and twine along the top as shown.
Here is your shopping list:

Thanks so much for stopping by!