Good Luck Print and Cut Tutorial!
I am taking a little break from flowers today to try another Print and Cut file!
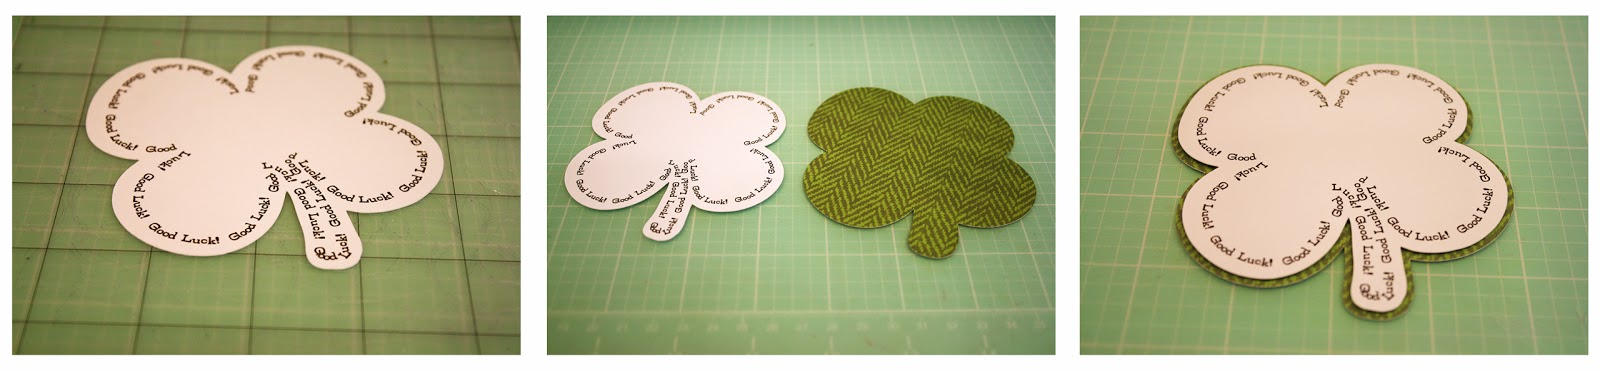
This is my Good Luck Print and Cut file and it comes with the shaped word art piece as well as a mat cut. This file can be sized to fit your needs and it compatible with both the 8x12 and 12x12 mats.

Here is the tutorial:

1. Bring in the file to Silhouette Studio and click on your Page Tool Window (4th from the right) and select your paper size. I switched mine to Letter, using my 12x12 mat.

2. Next click on the Registration Window icon (2nd from right) and click the Show Reg Marks box. Move your word art image so that it is not in the grey areas on the mat.

3. Next, click the Send to Silhouette button (6th from left) and print your word art image.

4. Once your piece has printed, follow the steps on the screen.
Make sure you have your paper on your mat with the arrow pointing
so it mimics your virtual screen!


5. Click on the Detect Automatically link and your Silhouette will look and find the registration marks from your print.

6. Next click on the Cut button!

7. Once you have your cut complete, move the pieces over so that your mat is in the cut area. Turn off the Registration marks and put your paper back to 12x12 (or the size you need it for your machine)!

8. Once you have your pieces cut, simply adhere the word art image on top of the mat!
Tags:
Bits of Paper
Good Luck
Jamie Cripps
Jamie Lane Designs
Print and Cut
Silhouette
St. Patrick's Day
Tutorial


0 comments