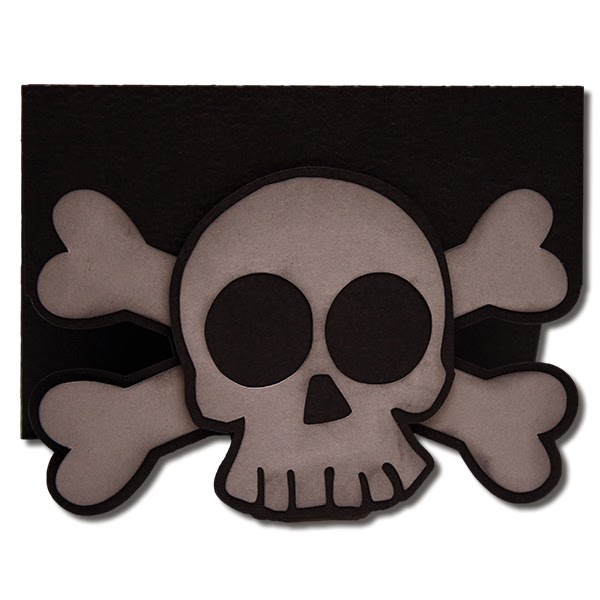
This six sided box come with the box base and a removable lid with a decorative edge! This is perfect for placing candy and goodies inside for parties or to give to someone special!
Here's the tutorial:
1. Cut out all the pieces and fold on the score lines.
2. With the box base, place adhesive on the side tab and adhere to the other side. Over lap the bottom tabs.
3. Place adhesive along the edges of the back of one of the box pieces.
4. Insert your piece in the bottom of the box. Flip the box over.
5. Adhere the last box piece on the bottom to hide the tabs.
6. Place adhesive on the side tabs of the lid. Adhere to the other side to form the lid shape.
7. Place the lid on the box.
8. Place your ribbon through the holes and tie in a bow. Fill as desired!
You can find this file in my stores soon!

These files come with all the paper elements you need to create the cards shown. The file is compatible with both the 8x12 and 12x12 mats. As sized, the cards are A2 in size, 4-1/4" x 5-1/2", when finished.
His ears fold down so he stuffs in an envelope easier :)
Good Morning! Today I am sharing my new Halloween Popcorn Boxes. These boxes come sized at approximately 4-1/2" x 3" x 3" (at widest areas). The file is compatible with both the 8x12 and 12x12 mats and can be made larger with the Cameo mat when angled on the mat. The files come with the box base, a bottom square (to hide the box seams on the bottom), and inside square (for the inside bottom of the box), and the paper elements shown.
Here's the tutorial:

1. Cut out the box pieces and fold on the score lines. Place adhesive on the box tab.
2. Adhere the box tab to the other side of the box.
3. Pop the box out to form its shape and place adhesive on two of the bottom flaps. Adhere in place.
4. Place adhesive on the back of each rectangle.
5. Adhere one inside the box and one the bottom of the box to hide the flaps. This step isn't necessary, but it does make the box look better and provides more stability in case you are placing something heavier within the box.
6. Cut out your panels/pieces.
7. Adhere your pieces as shown in each photo.
8. Adhere the piece with foam adhesive.
9. Your finished box should look similar to this. Embellish as desired!