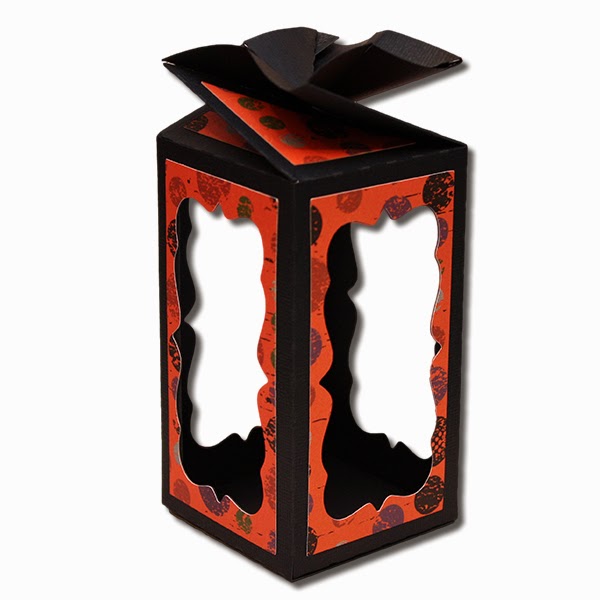
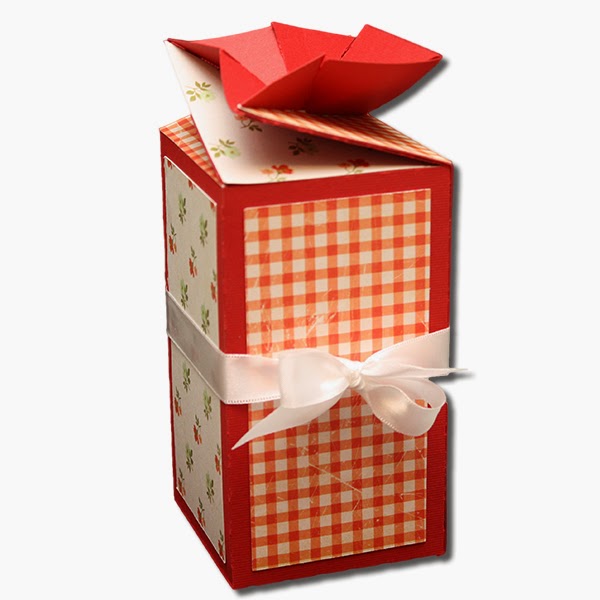
Twist Top Boxes
These boxes are so much fun! The box end twists to close and easily open again for access to all the goodies that are placed inside! The dimensions given below are for the actual box size and do not include the twisted ends. I thought this would be easier so you would know what you could fit in them. All boxes are compatible with both the 8x12 and 12x12 mats, some coming with two different base boxes being machine specific.
Here is the tutorial:
1. Cut out your box and fold on all the score lines. Place adhesive (shown with white tape in photo) on the side tabs.
2. Adhere the tabs to the other side of the box.
3. This next part is a little tricky :) Push the twist sides in sort of like a school milk carton (shown in photo).
4. Then fold one of the sides down, pulling the top layers down as you go around the box. Again, this takes a little playing with to get it into its shape. Once you have it there, it is easy-peasy to open and close, I promise!
5. Your top should look similar to this now.
6. Close the bottom of your box with adhesive or in this case, as you did in the steps above. Fill and embellish as desired!
This box is approximately 5-3/4" x 2-5/8" x 2-5/8"
This box is approximately 5" x 2-5/8" x 2-5/8"
This box is approximately 5" x 2-3/4" x 2-3/4"
This box is approximately 3-1/8" x 2" x 2"
This box is approximately 5-3/4" x 1-3/4" x 1-3/4"
Tags:
3D
Bits of Paper
Boo Box
box
Gift Box
Jamie Cripps
Jamie Lane Designs
Silhouette
Tutorial
Twist Top Box


2 comments