Today I am introducing my new Explosion Box and coordinating Kits.
The Explosion Box comes with the large explosion panels (main box) and coordinating mats, the inside explosion panels and coordinating mats, the lid and the lid mats. The file is compatible with both the 8x12 and 12x12 mats. The finished box is approximately 3-1/4" x 3-3/4" x 3-3/4".
Here is the labeling for the file pieces for the box:
Here are some detailed images:
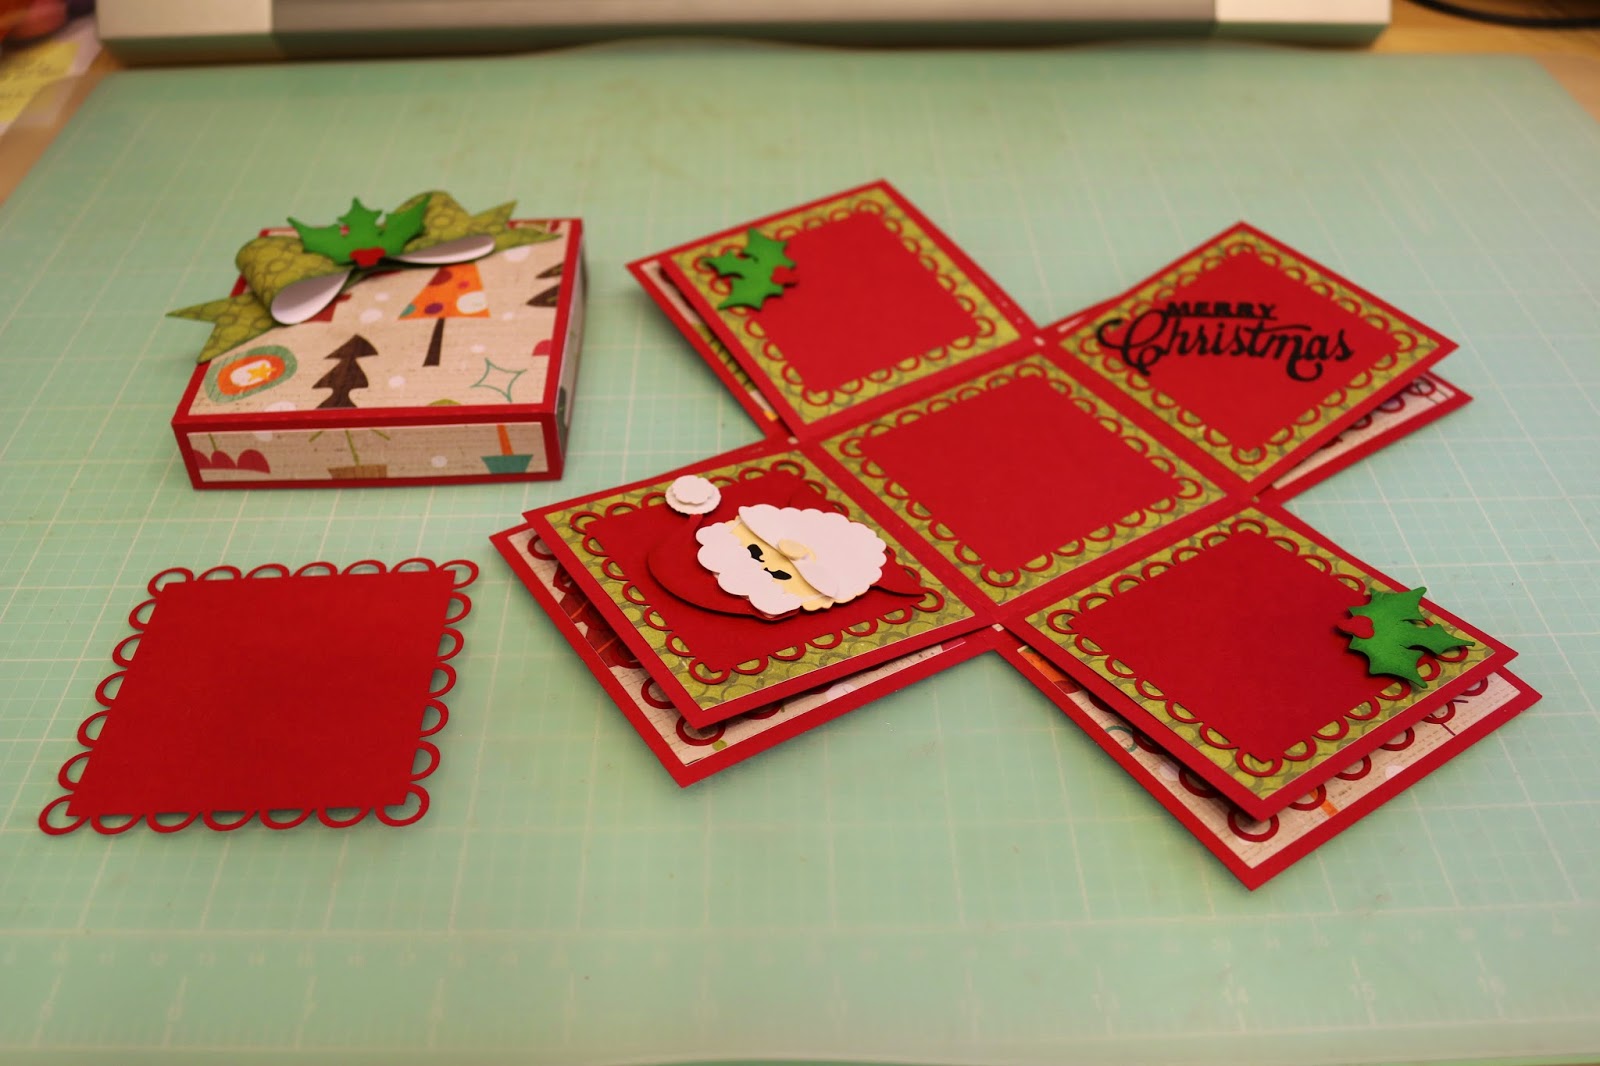
This file only contains pieces to coordinate with the Explosion Box (sold separately). This kit comes with large scallop square mats, the smaller scallop square mats, the Merry Christmas sentiment, the holly with berries, the pieces to build the Santa, and the 3D bow. The image shown displays the 3D Explosion Box with the Christmas Explosion Box Kit pieces.
Here is a look at the pieces included within this kit.
When assembled, the large scallop mat is not needed. I included it in the file in case you would like to only have the outer panels and not use the inside panel pieces.
This file only contains pieces to coordinate with the Explosion Box (sold separately). This kit comes with large scallop circle mats, the smaller circle mats, the Gobble Gobble sentiment, the pieces to build the boy pilgrim, the pieces to build the girl pilgrim, the pieces to build the turkey, and the 3D bow. The image shown displays the 3D Explosion Box with the Thanksgiving Explosion Box Kit pieces.
Here are some detailed images included with this kit:
You can also find the Pilgrim's in Battery Operated Tealight Characters too:
Here's a look at the face assembly:
These little boxes hold six Andes mints in two rows of three!
The boxes are approximately 2-1/2" x 1-3/4" x 1/2" and are compatible with both the 8x12 and 12x12 mats.
To assemble these, fold the main wrap along the score lines. Fold the holder piece on the score lines and adhere the two end tabs to each side of the inner wrap area as shown in the images below. Insert your mints then fold the box to close. Secure with twine or ribbon and embellish as desired!
This 3D Turkey is great for home decor or even table cards to mark placement at your tables! The file is compatible with both the 8x12 and 12x12 mats and can be sized to fit your needs! As sized within the file the finished project is approximately 2-3/4" x 3-1/4" x 2".
Here's the tutorial:
1. Cut out all your pieces, ink if desired. Crease on the score lines.
2-7. Adhere adhesive on the back of one side of the creased pieces then adhere two together. Continue adding on until all pieces are in place.
8. Place foam on the back of the turkey body.
9. Adhere the turkey body in place then adhere the tab of the nose to the face area.
* * * * * * * * * * * * *
I also have some REALLY exciting news that I know many of you have been waiting on!
and I am just thrilled to have my files available through her store!
These will follow the tutorial for the Tealight Base (steps 1-8) which can be found HERE. After you build the tealight base, these will have a wrap that go around each that you simply adhere in place! The little turkey has an extra piece where the beak is. For that you just adhere the little tab to the face area and bend it down so it sticks out.
This file works with a battery operated tealight and it comes with all the paper elements shown. The file is compatible with both the 8x12 and 12x12 mats.
This file works with a battery operated tealight and it comes with all the paper elements shown. The file is compatible with both the 8x12 and 12x12 mats.
This file works with a battery operated tealight and it comes with all the paper elements shown. The file is compatible with both the 8x12 and 12x12 mats.
This file works with a battery operated tealight and it comes with all the paper elements shown. The file is compatible with both the 8x12 and 12x12 mats.
This file works with a battery operated tealight and it comes with all the paper elements shown. The file is compatible with both the 8x12 and 12x12 mats.
This file works with a battery operated tealight and it comes with all the paper elements shown. The file is compatible with both the 8x12 and 12x12 mats.
This Thanksgiving Place Card is perfect for marking seats at the dinner table or it can even be used as a bag topper for treats or left-over food bags! The card measures about 2" x 6-1/4" and with the Turkey in place is about 4-1/2" tall. The file comes with the place card base, a mat (for placing the name on), and all the pieces to build the turkey. The file is compatible with both the 12x12 and 8x12 mats.
Here is the tutorial:
1. Cut all the pieces out and fold the place card on the score mark.
2-8. Assemble the turkey.
9. Place foam adhesive on the turkey cut out and on the back of your turkey feet area.
10. Adhere your turkey in place using the head cut for the guide.
11-12. Your card will look like this now.
Embellish with a bow and twine and add in the name!
It has been a while since I have offered a printable/download so I thought that pulling out some turkeys would be suitable! I always love seeing what others create with my printables, so be sure to link me up in the comments section so I can come take a look!
Thanksgiving Printables Jamielanedesigns
Enjoy!