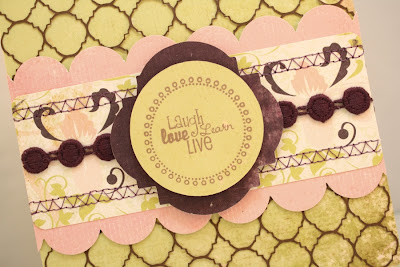
Hi! Today I am sharing a fun little birthday card
This die cut come in three pieces to easily change
the look and colors (and did I mention that it is free!?)!
Supplies:
Cardstock: White (Recollections) Purple (Prism)
Patterned Paper: Let's Party Pyramid Pad (Momenta)
Stickers: Happy Birthday (SRM)
Twine: Lilac (The Twinery)
Pen: White Gel (Sakura)
Hi guys! I am so excited to share my card with you today!
Do you see that background and the popped-up embellishment!? I made those and I am just in love with them! I will say that the background is very delicate and though it cuts perfectly with my Silhouette Cameo, I do not think Cricut will be able to handle the delicate areas. You also have to use great care when removing it from the Cameo mat.
Here are my designs:
I sized the Circle and frame to 2" to work perfectly with the PSA Stamps :)
You can get the Circle Label the background design HERE
I used my Xyron 2" Cheetah Runner to place adhesive on my background. This adhesive goes on in small dots and since it rolls so smoothly, it is perfect for delicate cuts! I use the adhesive runner on my Ranger craft mat so I can easily remove any excess glue.
Once I have my background covered, I simply add it to a 5-1/2" x 5-1/2" card base.
To adhere my ribbon, I used my 1.5" Xyron Create-a-Sticker "X" machine!
I love how easy this machine makes adhering my ribbons...I just pull it off the sticker sheet and apply!
Supplies:
Cardstock/Patterned Paper: Afternoon Tea Collection (Scrap Within Reach)
Punch: Border (EK Success) and 1/4" Corner Rounds (Zutter)
Ribbon: Afternoon Tea Collection (Scrap Within Reach)
Stamp: Dare to Dream (PSA Essentials)
Ink: Sweet Plum (Momento)
If you create a project using my designs, I would love to see them, so link me up in the comments section or send me an email with a link!
Today I am sharing an Easter Tag set that I created for a custom order. I created the file as a SVG which you can download HERE. The file comes with the top tag cut which has the bunny cut and the bottom tag cut which is a full tag and the basket.
I used foam adhesive in between the two tags:
What's even more fun are the little bunnies that are left over from the tags! I sent mine through my Cuttlebug using the Swiss Dots folder and then inked them up with all sorts of Distress Inks! Aren't they just adorable!?
Supplies:
Cardstock: White (Recollections)
Patterned Paper: Making Memories and DCWV
Inks: Wisteria & Olive Pastel (Cat's Eye Chalk Inks), Tuxedo Black (Momento),
and Distress Inks by Tim Holtz (Ranger)
Pen: Dual-Tip Black (Creative Memories)
Stamps: Sweet Spring (Sweet Stamp Shop)
Twine: Lilac & Honeydew (The Twinery)
Embossing: Cuttlebug and Swiss Dots folder (Provo Craft)
Die Cut Machine: Cameo (Silhouette America)
I would love to see your tags! If you download the files and make them, be sure to link me up in the comments section so I can come take a peek!
Happy Saturday!


