These creepy gift bags are approximately 9-1/4" (7" for base box) x 1-1/2" x 1-1/2" and come with the box base and all the pieces needed to create the finger! These are perfect for hiding candy, pencils, straws, and even toothbrushes (though my kids would be mortified if you filled it with any of those!).
You can find this file in my stores soon!
Happy Monday! Today is new release day at Silhouette
and here's a look at what I have in store for this week!
Today I am sharing my new Andes Candy Boxes. These boxes are perfect for gift giving and easily made in bulk which is great for giving to teachers, neighbors, co-workers, and all your friends! The boxes hold the Andes 28 piece (4.67oz) candy boxes, but they also hold checks and money nicely too! The box is approximately 6-1/2" x 3" x 1" and is compatible with both the 8x12 and 12x12 mats. The file comes with all the paper elements shown.
To assemble these boxes, simply fold on all the score lines then place adhesive on the four box tabs and adhere those tabs to the box sides.
Here's a look with money within the box...
These files are approximately 3-1/2" (6" with handle) x 5" x 1-1/4" as it comes, but it can be sized larger or smaller. The file comes with the paper embellishments shown. It is compatible with both the 8x12 and 12x12 mats.
Here is the tutorial:
1. Cut out the pieces and fold on the score lines. Adhere the handle mat to the center of the handle.
2. Place the handle in the slots as shown.
3. Place adhesive on the side tab and adhere it to the other side of the box.
4. Push in the sides of the pillow box for form its shape.
5. Adhere the sentiment on the front of the box. Fill and embellish as desired.
Here is the tutorial:
1. Cut out the pieces and fold on the score lines.
2. Place adhesive on the side tab and adhere it to the other side of the box.
3. Push the wing tabs into the box slots then push in the sides of the box to form its shape. Do this for both sides.
4. Adhere the face pieces in place. Fill and embellish as desired.
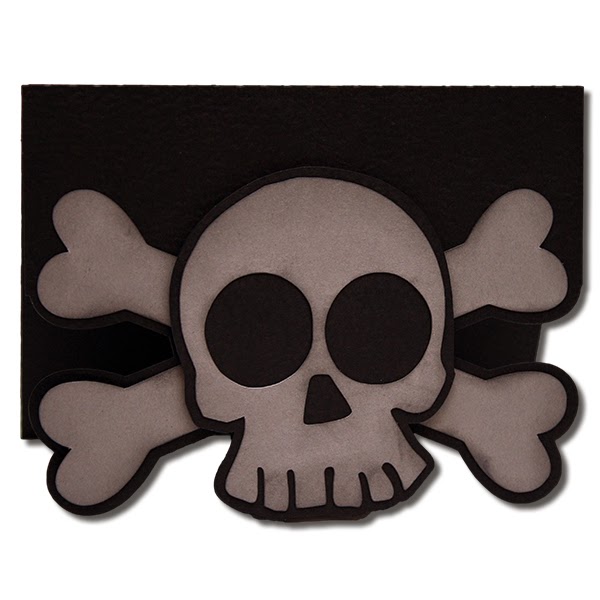
These files come with all the paper elements you need to create the cards shown. The file is compatible with both the 8x12 and 12x12 mats. As sized, the cards are A2 in size, 4-1/4" x 5-1/2", when finished.
His ears fold down so he stuffs in an envelope easier :)
These would be perfect treats for the kids, used as
classroom favors, or even as place card markers for the Holiday table! The inside box holds a standard sucker, such
as a blow pop. The holding box is
approximately 2” x 1” x 1”. The files
are sizable so you can make them larger or smaller to fit your needs.
Here is the tutorial:

1. Cut out your 8 leg pieces and the box.
2. Bend each leg in half. Place adhesive on the entire back of two of the legs.
3. Adhere the legs together - grab one of the adhesive legs and then adhere half of the leg to it.
4. Grab another leg and adhere half of it on.
5. Finally grab the second adhesive leg and adhere it in place. Your legs should look like this.
6. Repeat the steps for the other four legs.
7. Next, fold the box on the score lines and place adhesive on the long tab and bottom box flap.
8. Adhere the box sides together.
9. Adhere the bottom of the box in place.
10. Grab one of your leg sets and place adhesive along the top curve.
11. Adhere the box and leg set together as shown. The box and legs should all touch your desk evenly.
12. Adhere the second set of legs on the box.
13. Adhere the face pieces on the one of the circles.
14. Adhere the back circle on.
15. Adhere the spider face on the front as shown. Cut down your sucker stem and place it in the box!
Good Morning! Today I am sharing my new Halloween Finger Boxes! I am absolutely in love with these...but I'll admit, the Zombie fingers are by far my favorite! You can put all sorts of goodies in these boxes; handmade munchies, school supplies, crayons, or party treats!
These boxes come size at approximately 4-1/4" x 3-1/2" x 1" and are compatible with both the 8x12 and 12x12 mats. The files are sizable so you can make them larger or smaller to fit your needs.
You can find the box tutorial HERE
Here is a quick tutorial for assembling the box details:
1. Cut out the box and finger pieces. Fold the box on the score lines and then place adhesive on the side tab and the bottom flap. Adhere the box sides together and then adhere the bottom flap to the box side.
2. Adhere the finger details on the finger mat piece as shown. Place a strip of adhesive on one side of the box.
3. Adhere the finger on the box, lining up the bottom and centering.
4. Ink around the edges with a coordinating ink color.
5. Slightly bend the finger nails. Continue the steps for the other four boxes.
For these fingers, I used a pale green card stock for the finger boxes and top finger cuts and used a red for the under cut (to show the blood!). The finger nail was cut from a peachy-skin colored card stock. I used red, black, and purple chalk inks around the edges to mimic bruising.
This box is perfect for holding all types of treats and gifts! It comes sized at approximately 4-1/2" x 3" x 3" (at widest areas). The file is compatible with both the 8x12 and 12x12 mats and can be made larger with the Cameo mat when angled on the mat. The files come with the box base, a bottom square (to hide the box seams on the bottom), and inside square (for the inside bottom of the box), and the paper elements shown. You can find additional boxes of this style and a full tutorial here: http://jamielanedesigns.blogspot.com/2014/08/halloween-popcorn-boxes.html
Good Morning! Today I am sharing my new Halloween Popcorn Boxes. These boxes come sized at approximately 4-1/2" x 3" x 3" (at widest areas). The file is compatible with both the 8x12 and 12x12 mats and can be made larger with the Cameo mat when angled on the mat. The files come with the box base, a bottom square (to hide the box seams on the bottom), and inside square (for the inside bottom of the box), and the paper elements shown.
Here's the tutorial:

1. Cut out the box pieces and fold on the score lines. Place adhesive on the box tab.
2. Adhere the box tab to the other side of the box.
3. Pop the box out to form its shape and place adhesive on two of the bottom flaps. Adhere in place.
4. Place adhesive on the back of each rectangle.
5. Adhere one inside the box and one the bottom of the box to hide the flaps. This step isn't necessary, but it does make the box look better and provides more stability in case you are placing something heavier within the box.
6. Cut out your panels/pieces.
7. Adhere your pieces as shown in each photo.
8. Adhere the piece with foam adhesive.
9. Your finished box should look similar to this. Embellish as desired!


