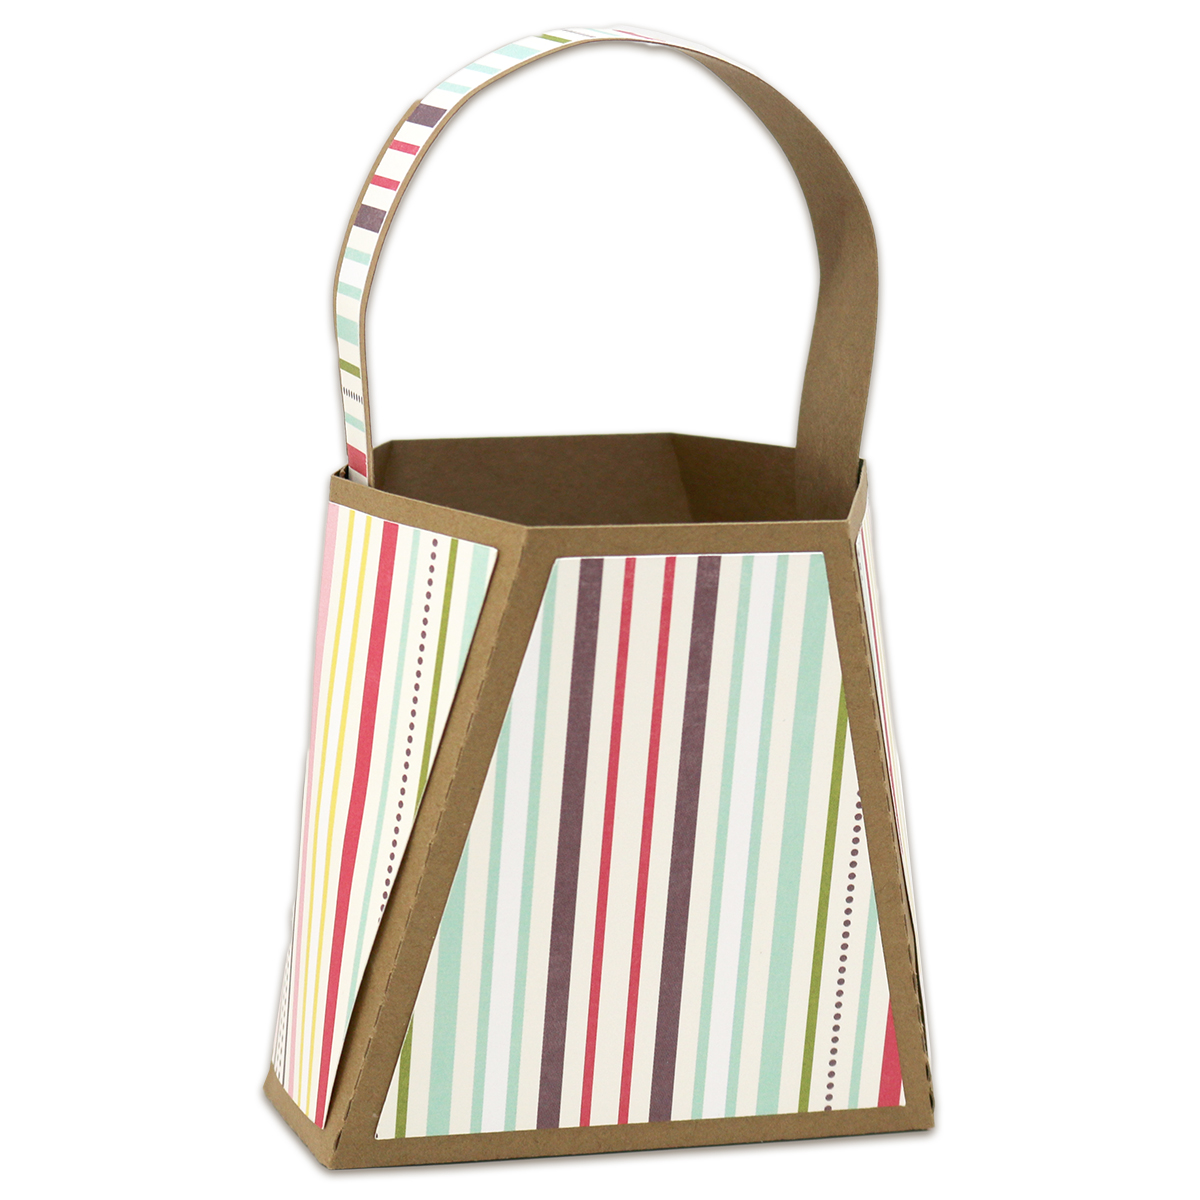
This storage/gift box is approximately 4" x 2-1/4" (3-1/2" with handles), x 3-1/4". The box itself does not require any glue so you can cut and store them flat so they will be ready to go when needed! The file comes with the box base and four coordinating mats (optional) and is compatible with both the 8x12 and 12x12 mats.
Here is the tutorial:
1. Cut out all your pieces. If using the mats, adhere the two long panel mats on the coordinating spots on the box base. Fold on the score lines.
2. Bring two of the side panels with slits in them together.
3. Push the handle through the bottom...
4. Then up through the top slots.
5. Repeat for the other side.
6. Place the side panel on both sides.
7. Fill and embellish as desired.
TUTORIALS COMING SOON!
This gift bag features a tab closure for easy open and closing and a layered 3d paper bow! It is approximately 2-1/2" (5" with handle) x 3-1/2" x 2-1/4" and is compatible with both 8x12 and 12x12 mats. The file comes with the one piece box base, handle, coordinating mats, and the 3d paper bow. This gift bag is perfect for gifting small makeup items, nail care, gift card(s), small Mother's Day items, baked goods, and more!
This gift bag features an open bag area and handle. It is approximately 3-3/4" (6" with handle) x 3-1/2" x 3-1/2" (at widest areas, 1-3/4" on narrow sides) and is compatible with both 8x12 and 12x12 mats. The file comes with the one piece box base, handle, and coordinating mats (5 in total). This gift bag is perfect for holding paper flowers, pens/pencils, teacher gifts, gifting small makeup items, nail care, gift card(s), small Mother's Day items, baked goods, and more!
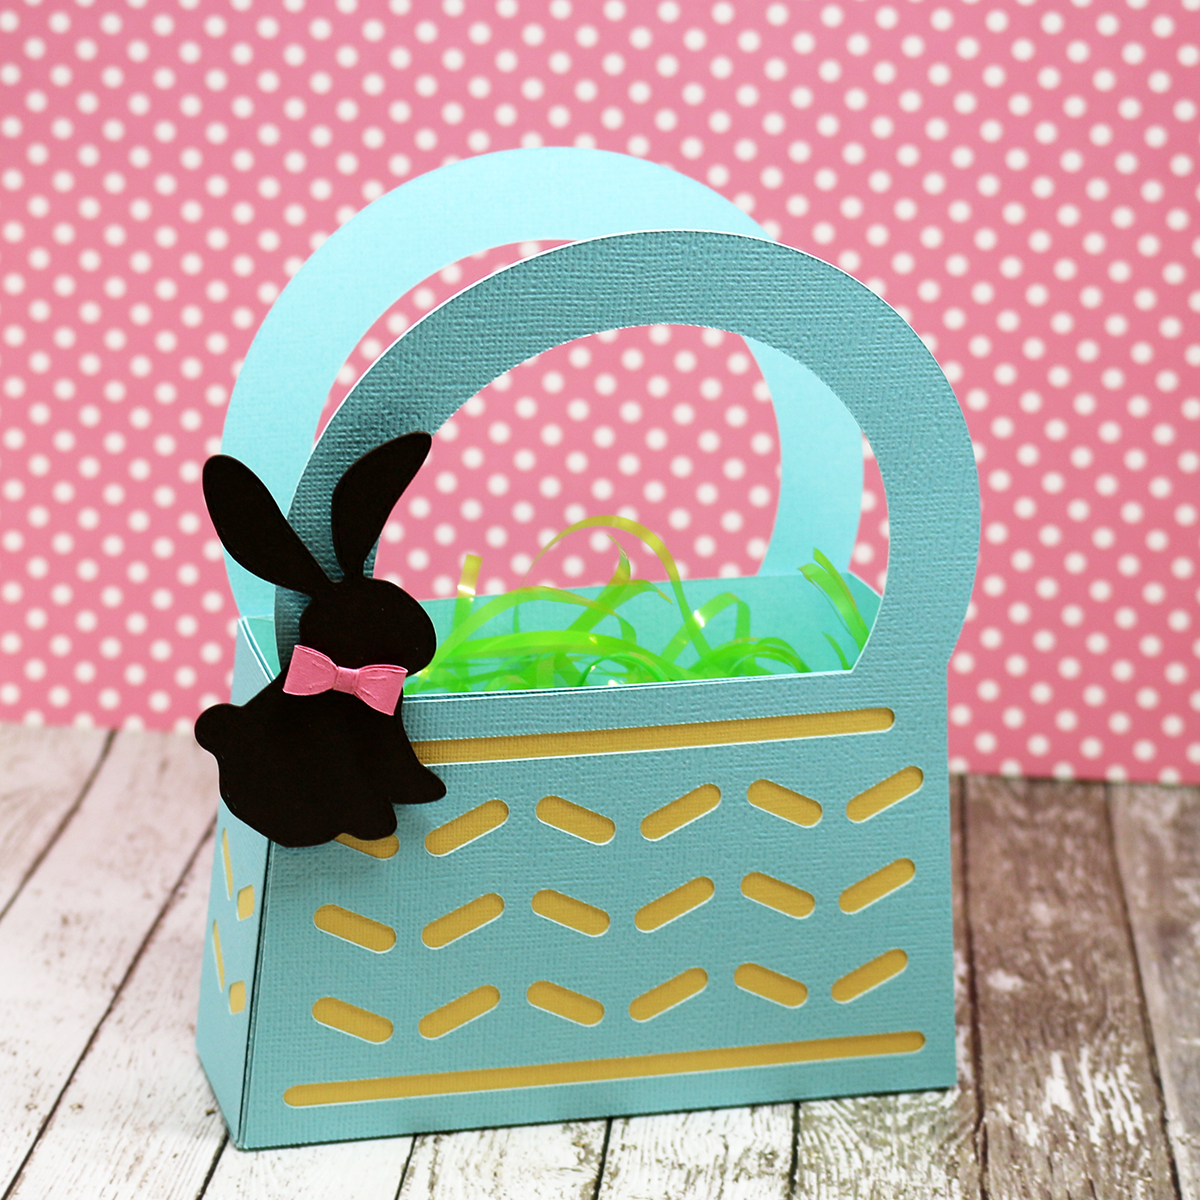
This basket is approximately 5-1/4" x 3-1/2" (6-3/4" with handle) x 1-3/4". The file comes with a 2-piece box base, two handle panels, two side panels, and the pieces for the paper bow. The files are compatible with both the 8x12 and 12x12 mats.
Here is the tutorial:
1. Cut out the basket pieces and fold on the score line. Place adhesive on the tabs and bottom insert as shown with the red tape.
2. Adhere the two box base pieces toghther as shown.
3. Use the remaining tab to adhere to the other side of the box to form its shape.
4. Push the two short tabs in and then bring the bottom tab up and adhere in place.
5. Adhere the box together to close.
6. Your bottom should look like this now.
7. Flip your box over so it is upright. Insert the bottom insert and adhere in place. This makes the basket stronger to hold heavier items!
8. Grab your detail basket cuts and add foam adhesive as shown. Adhere to box front and back.
9. Cut the bow pieces and adhere the mats in place, centering.
10. Form the bows.
11. Adhere the bows together and wrap the center piece around and adhere in place.
12. Cut the side basket panels and use foam adhesive as shown on the backsides.
13. Adhere the sides and bow on to the basket and embellish/fill as desired!
This basket is approximately 5-1/4" x 3-1/2" (6-3/4" with handle) x 1-3/4". The file comes with a 2-piece box base, two handle panels with mats, two side panels with mats, and the pieces for the stitched bunny with 3d bow. The files are compatible with both the 8x12 and 12x12 mats.