This coffin treat holder is approximately 5-3/4" x 4-1/2" (at widest spot) x 1/2". The coffin opens to reveal a 1/2" pocket that is about 2" in height. This pocket can hold small chocolate bars, money, packages of gum, etc.! To assemble, fold the pocket cut on the score lines and then place adhesive on the bottom tab, and the two outer-most tabs. Adhere to the score line area of the coffin cut and sides. Ink the coffin mats (if desired) and adhere one to the front of the treat holder and one inside the pocket area as shown. Fold the bat wings on the score line and adhere with a foam adhesive to add pop. Adhere the phrase in place. Fill as desired and secure with ribbon or twine!
https://jamielanedesigns.blogspot.com/2017/08/halloween-treats.html
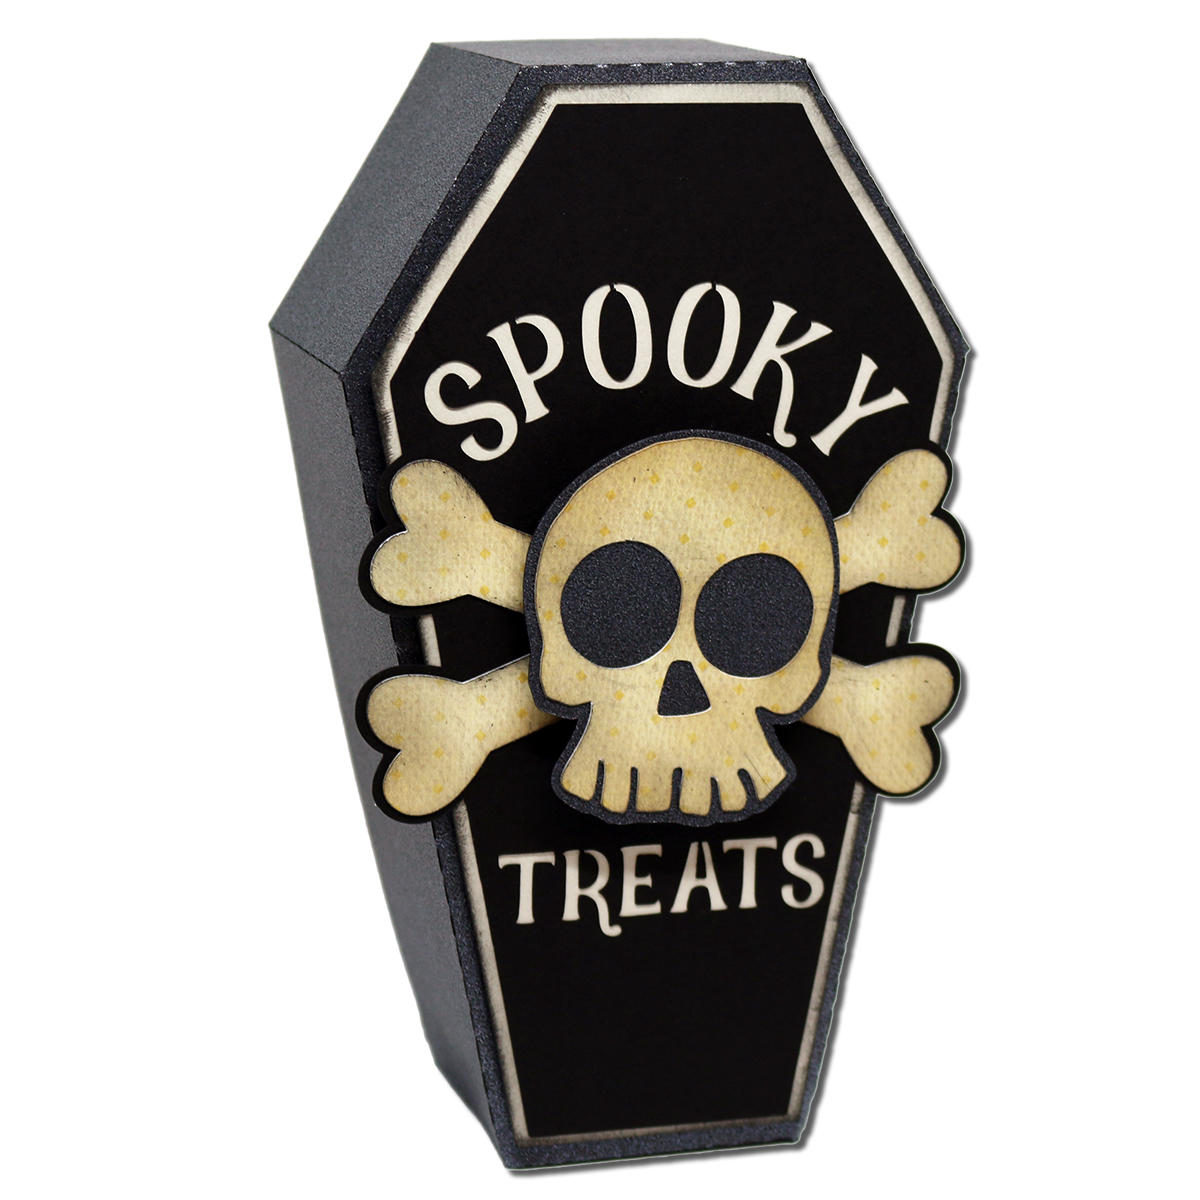
This coffin treat box is approximately 6-1/2" x 4" (at widest spot) x 2". The coffin lid lifts off allowing you to fill the 6-1/2" x 2" area with candies or goodies! Each coffin comes with the decorative paper cut items shown and they are compatible with both the 8x12 and 12x12 mats. The file can be size smaller with any machine or made larger with the Cameo.
All coffins assemble the same.
1. Cut out the coffin box pieces (2). Fold on all score lines. Grab the larger of the two and place adhesive on the six tabs.
2. Adhere the tabs to the box sides to form the shape.
3. Repeat for the smaller coffin box. Cut out the mats and decorative paper cuts. Assemble as shown. I use foam adhesive under the skull head to give it lift and then use foam under the mat that adheres to the coffin.
4. Insert the smaller coffin into the larger then flip over.
5. Adhere the coffin mat in place!
This gift box is approximately 5-3/4" x 2-1/2" x 2-3/4" and has the box base with shape cut-outs, the detail pieces for the cuts, and the box top which fits inside the box base. All the pieces are compatible with both the 8x12 and 12x12 mats.
1. Cut out all the pieces. Grab the box base and fold on the score lines. Place adhesive around the detail cuts and then adhere the panel in place on the inside of the box.
2. Adhere the second panel in place then place adhesive on the four tabs.
3. Adhere the box tabs to the box sides to form its shape. Your box should look like this now.
4. Adhere the black piece behind the skull detail.
5. Adhere the bones in place on the box sides. Then use foam adhesive to adhere the skull heads.
6. Assemble the box top as you did the box base. Insert the lid inside the box base.
This house fly comes with the detail cut with the fly body, wings, and eyes as well as the house fly border silhouette. Perfect for cards, scrapbook pages, Halloween, and even decorating your walls in vinyl!
Good Morning! Today I am sharing my new Halloween Finger Boxes! I am absolutely in love with these...but I'll admit, the Zombie fingers are by far my favorite! You can put all sorts of goodies in these boxes; handmade munchies, school supplies, crayons, or party treats!
These boxes come size at approximately 4-1/4" x 3-1/2" x 1" and are compatible with both the 8x12 and 12x12 mats. The files are sizable so you can make them larger or smaller to fit your needs.
You can find the box tutorial HERE
Here is a quick tutorial for assembling the box details:
1. Cut out the box and finger pieces. Fold the box on the score lines and then place adhesive on the side tab and the bottom flap. Adhere the box sides together and then adhere the bottom flap to the box side.
2. Adhere the finger details on the finger mat piece as shown. Place a strip of adhesive on one side of the box.
3. Adhere the finger on the box, lining up the bottom and centering.
4. Ink around the edges with a coordinating ink color.
5. Slightly bend the finger nails. Continue the steps for the other four boxes.
For these fingers, I used a pale green card stock for the finger boxes and top finger cuts and used a red for the under cut (to show the blood!). The finger nail was cut from a peachy-skin colored card stock. I used red, black, and purple chalk inks around the edges to mimic bruising.
This box is perfect for holding all types of treats and gifts! It comes sized at approximately 4-1/2" x 3" x 3" (at widest areas). The file is compatible with both the 8x12 and 12x12 mats and can be made larger with the Cameo mat when angled on the mat. The files come with the box base, a bottom square (to hide the box seams on the bottom), and inside square (for the inside bottom of the box), and the paper elements shown. You can find additional boxes of this style and a full tutorial here: http://jamielanedesigns.blogspot.com/2014/08/halloween-popcorn-boxes.html