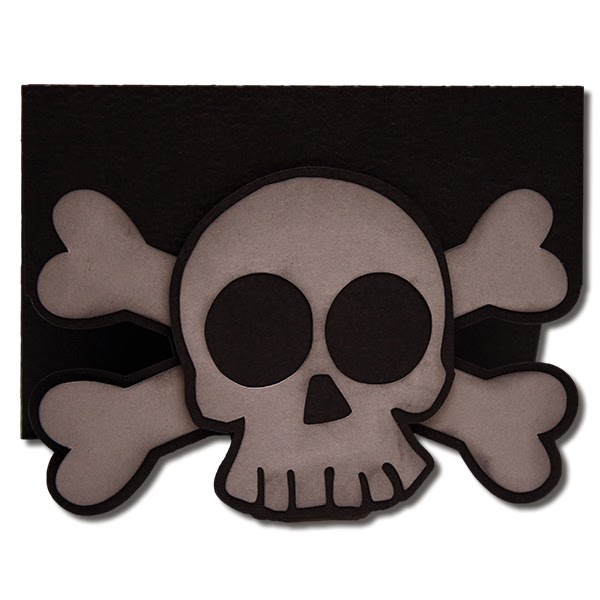
These halloween characters are approximately 5-1/2" x 3-3/4" x 2-1/4 when assembled. The top box (head) is 2-1/2" x 3" x 2" and the bottom box (body) is 2-3/4" x 3-1/2" x 2-1/4" and each can be used to hold goodies &/or surprises! In the file you will receive the two boxes and all of the paper pieces needed to build the image shown in the image. These files are compatible with both the 8x12 and 12x12 mats.
Here is the tutorial:
1. Cut out the pieces. Starting with the largest box, fold on all the score lines then place adhesive on the side tab.
2. Adhere the side tab to the other side of the box. Place adhesive on the bottom side tabs of the box and push them in. Place adhesive on one of the remaining tabs.
3. Push in the tab without adhesive first and adhere to the bottom side tab. Adhere the remaining tab down and secure in place.
4. For the top of the box, push in the two side tabs then tuck the flap down to close.
5. Your box should look like this one now!
6. Repeat 1-4 for the second smaller box.
7. Adhere your pieces on your boxes as shown in the photos. NOTE: the box openings will be at the back side of your character so they open easier (see photo 10).
8. Place foam adhesive under the head box.
9. Adhere the head on the front center of the body box.
10. This image shows the boxes opened.
You can find this file in my stores soon!
These boxes are approximately 4-1/2" x 3-1/2" x 3-1/2" and they come with the box base, the lid (which provides the hair), and all the pieces needed to make the faces! They are quick for assembly making them perfect for classroom treats or to fill for your favorite trick-or-treators!
These can stack as well which would be super cute filled with home baked goodies and tied with a ribbon as a gift!
1. Cut out all the pieces and fold on the score lines.
2. With the box base, place adhesive on the side tab and adhere to the other side. Over lap the bottom tabs.
3. Place adhesive along the edges of the back of one of the box pieces.
4. Insert your piece in the bottom of the box. Flip the box over.
5. Adhere the last box piece on the bottom to hide the tabs.
6. Place adhesive on the side tabs of the lid. Adhere to the other side to form the lid shape.
7. Place adhesive along the edges of the back of one of the lid pieces.
8. Insert your piece in the bottom of the box. Flip the box over.
9. Adhere the last box piece on the bottom to hide the tabs.
10. Your lid will look like this now.
11. Fill your box as desired and place the lid on the box.
12. Assemble the face pieces and adhere to the box. Note, the mouth and nose have score lines to line up on the box center.
You can find this file in my stores soon!
These files come with all the paper elements you need to create the cards shown. The file is compatible with both the 8x12 and 12x12 mats. As sized, the cards are A2 in size, 4-1/4" x 5-1/2", when finished.
His ears fold down so he stuffs in an envelope easier :)
These would be perfect treats for the kids, used as
classroom favors, or even as place card markers for the Holiday table! The inside box holds a standard sucker, such
as a blow pop. The holding box is
approximately 2” x 1” x 1”. The files
are sizable so you can make them larger or smaller to fit your needs.
Here is the tutorial:

1. Cut out your 8 leg pieces and the box.
2. Bend each leg in half. Place adhesive on the entire back of two of the legs.
3. Adhere the legs together - grab one of the adhesive legs and then adhere half of the leg to it.
4. Grab another leg and adhere half of it on.
5. Finally grab the second adhesive leg and adhere it in place. Your legs should look like this.
6. Repeat the steps for the other four legs.
7. Next, fold the box on the score lines and place adhesive on the long tab and bottom box flap.
8. Adhere the box sides together.
9. Adhere the bottom of the box in place.
10. Grab one of your leg sets and place adhesive along the top curve.
11. Adhere the box and leg set together as shown. The box and legs should all touch your desk evenly.
12. Adhere the second set of legs on the box.
13. Adhere the face pieces on the one of the circles.
14. Adhere the back circle on.
15. Adhere the spider face on the front as shown. Cut down your sucker stem and place it in the box!