TUTORIALS COMING SOON!
This gift bag features a tab closure for easy open and closing and a layered 3d paper bow! It is approximately 2-1/2" (5" with handle) x 3-1/2" x 2-1/4" and is compatible with both 8x12 and 12x12 mats. The file comes with the one piece box base, handle, coordinating mats, and the 3d paper bow. This gift bag is perfect for gifting small makeup items, nail care, gift card(s), small Mother's Day items, baked goods, and more!
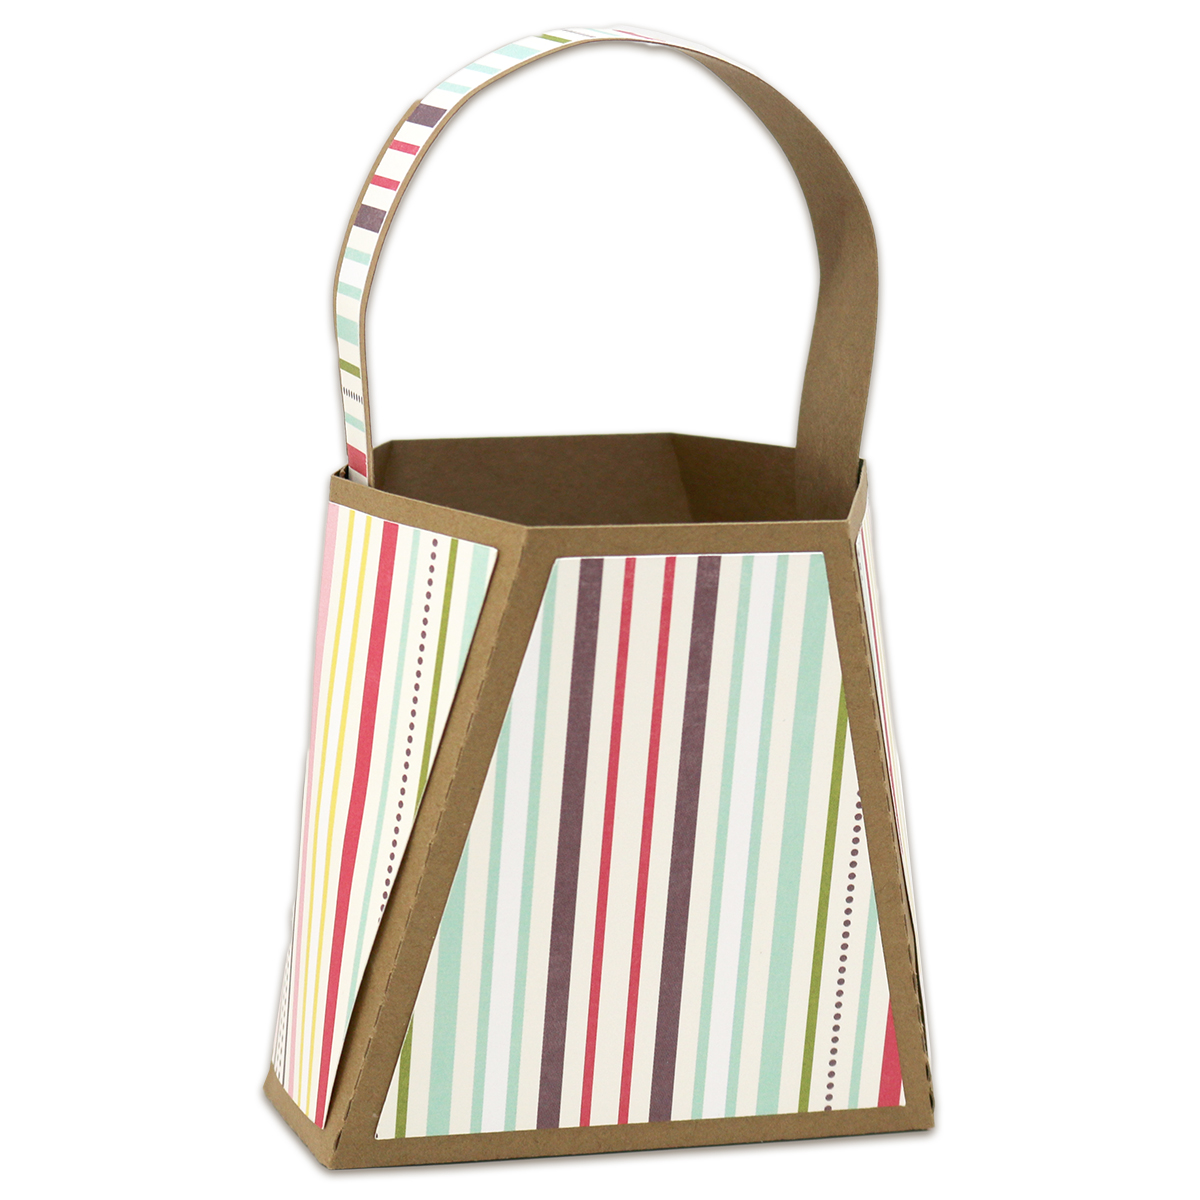
This gift bag features an open bag area and handle. It is approximately 3-3/4" (6" with handle) x 3-1/2" x 3-1/2" (at widest areas, 1-3/4" on narrow sides) and is compatible with both 8x12 and 12x12 mats. The file comes with the one piece box base, handle, and coordinating mats (5 in total). This gift bag is perfect for holding paper flowers, pens/pencils, teacher gifts, gifting small makeup items, nail care, gift card(s), small Mother's Day items, baked goods, and more!
This buckle gift card bag holds a standard gift card and leaves plenty of room to hide a gift too! The finished size of this box as it comes is approximately 4-1/2" x 5-1/2" x 1-3/4" at its widest points. The pieces can be sized just remember to leave everything grouped together while sizing! The file is compatible with both the 8x12 and 12x12 mats. This file comes with the two box base pieces, a side panel cover (in case you want to use two different papers as I have), a handle, the inside gift card piece which pulls up when the box is open, two buckles, and a round gift tag.
Here is the tutorial:
1. Cut out all your pieces in your desired papers. Fold on the score lines.
2. Place adhesive on the two side tabs of the main box pieces.
3. Adhere the tab to the other box piece.
4. Adhere the remaining tab to the other side of the box.
5. Pop the box into its shape. Push the two bottom side tabs in.
6. Adhere the box bottom closed.
7. Tuck your gift card into the slots.
8. Place adhesive on the back of the gift card insert as shown (top portion).
9. Adhere your insert in place.
10. Tuck each end of the handle into the slots on top of the box.
11. Place the buckles on and tie the tag around the handle area. Since I used different papers for the front and back of my box, I am cutting the side panel so that the box front and sides will match. If you used the same paper for the box pieces, you will not need this cut.
12. Your finished box will look like this! When the recipient opens the box, the gift card will lift up.
This adorable Buckle Purse Gift Bag is perfect for gift giving or party favors! It measures approximately 6-1/2" x 5" (7" with handle) x 2" and is compatible with both the 8-1/2x12 and 12x12 mats. It is easy to open and close and comes with a large pocket, which is perfect for holding a card or tag. You could even adhere the pocket on the inside to make it look more like a purse!
Here is the tutorial:
1. Cut out the box pieces and fold on the score lines. Apply adhesive on the three tabs as shown in the photo.
2. Adhere the two pieces together so they look like this.
3. Bring the side over and adhere to form the box.
4. For the bottom, tuck in the two side tabs.
5. Then add adhesive to the large pieces edge and adhere closed.
6. Cut out the pocket, handle and buckle pieces. Fold on the score lines and add adhesive to the pocket as shown.
7. Adhere the pocket sides to the bottom...
8. Then adhere to the back of the purse (or the inside...or both!).
9. Insert the handle into the slots.
10. Then push the buckle pieces up on the long tabs.
11. Tuck the tabs in the slots to close.