This card is 5" x 7" and comes with the card base, three floral layer frames, the sentiment and sentiment mat. Be sure to ungroup the file before cutting! You can see the tutorial for this card on my blog.
Happy Anniversary
Here is the tutorial:
1. Make sure to ungroup and separate the file before cutting! You will have the card base, three frames, the sentiment cut and sentiment mat. Cut out all your pieces! Also make sure to KEEP the letter insides, we use them in step #5. Some of these pieces have small cuts. If you are having issues cutting, remember to slow your cutter down.2. Adhere the darker (less detailed) mat in place, centering.
3. Adhere the medium mat in place using the original frame as a guideline.
4. Adhere the most detailed mat in place (lightest shade) again using the previous frames to guide.
5. Adhere the sentiment to the sentiment mat, centering. Use a thin glue pen or liquid glue to adhere the centers of the letters in place. Then embellish and fill as desired!
You Did It!
This layered card is 5" x 7" and comes with the card base, three graduation cap layers, and the sentiment. Be sure to ungroup the file before cutting! You can see the tutorial for this card on my blog.
Congratulations
This layered card is 5" x 7" and comes with the card base, main card mat, three star layers, and the sentiment. Be sure to ungroup the file before cutting! You can see the tutorial for this card on my blog.
Card ungrouped and cut:
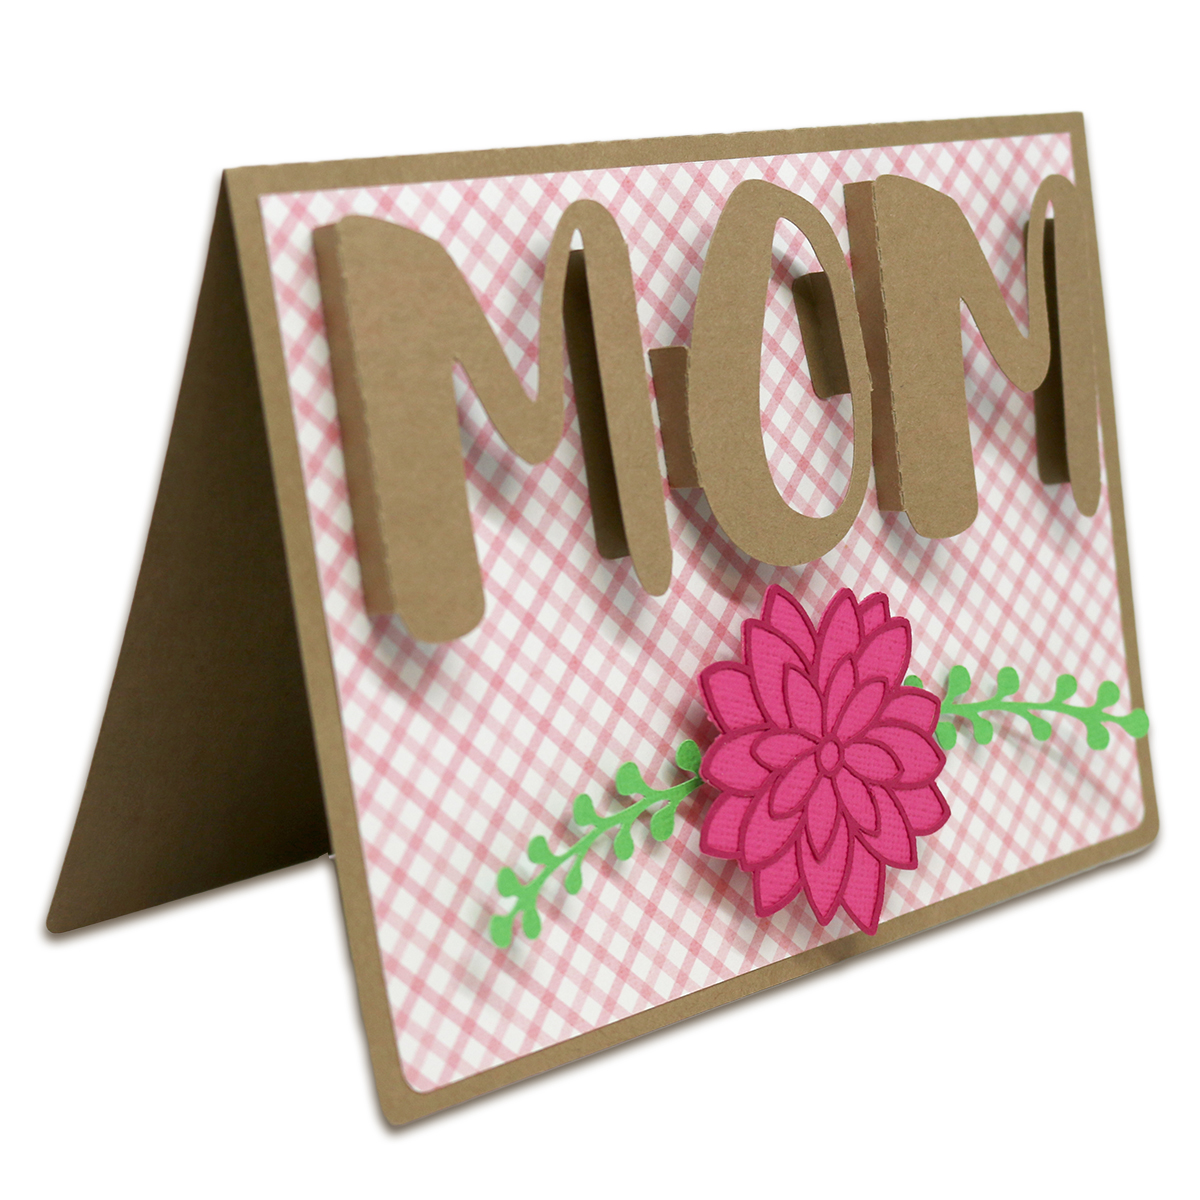
This Mother's Day card is A7 (5" x 7") in size and comes with the card base, card mat, the two-layered flower, leaf piece, and the MOM letters that stand up on the card. The file is compatible with both the 8x12 and 12x12 mats.
To assemble letters, place adhesive on the tabs as shown with the white adhesive. Fold on the score lines then adhere the tabs to the card front.
These A7 (5" x 7") cards come with the card base, card mat, the sentiment, and heart. Each file is compatible with both the 8x12 and 12x12 mats.
You can find these files in my stores soon!
Hello and Happy Monday!
Today is the new release day at the Silhouette store
and I have lots of new card files to share with you!
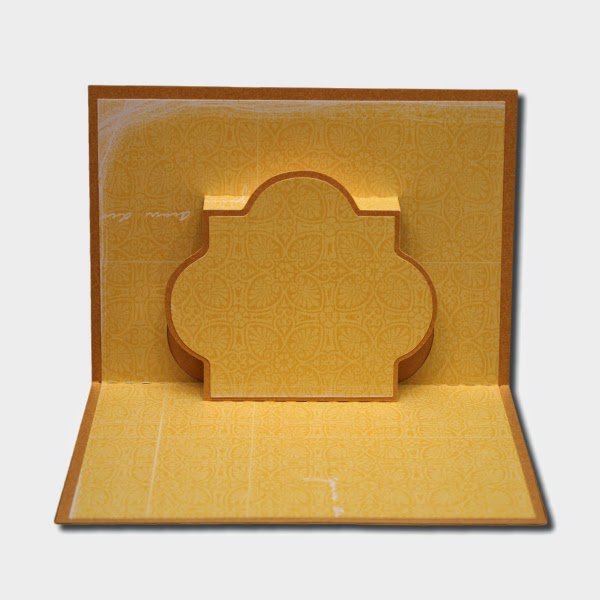
Today I am sharing my new A2 Pop Up Cards. These cards are 4-1/4" x 5-1/2" when finished and feature a pop up design in the inside. The files come with the card base, the inside pop-up mat, and mats for the pop up. The mats for the pop up pieces can also be used on the front of the card to coordinate the look! All of the files are compatible with both the 8x12 and 12x12 mats. I am hoping from the images you can see how to fold the inside mats. The long center fold is a valley then the others create the pop up. I always start by folding the center then carefully creasing the other folds as I fold the card mat down on itself as it would when you close the card.
This next one is an A7 size (5x7) and comes with all the pieces shown.
Good Morning and welcome to Monday!
It's hard to believe we are just two days away from Christmas! For all you last minute gifters, I have a fun and easy project to help you out! This week I am introducing seven new gift card cards. Each of these cards comes with an A7 - 5" x 7" Card Base, three different inserts: A large single gift card holder that can hold standard sized gift cards as well as larger (double-panel) gift cards, a double gift card holder, and a triple gift card holder! You will also receive the decorative elements for the front of the card too!
I don't have any tutorials for these as they are pretty easy to put together. I have included larger images this week for these to help guide you with the card fronts. All of these cards are compatible with both the 8x12 and 12x12 mats.
Here are the seven different versions:
This 5x7 Card and Photo Storage box holds 5x7 photos and standard A7 (5-1/4" x 7-1/4") cards and envelopes. The finished project measures approximately 7-1/4" x 5-1/4" x 1-1/8". The box has a hinged lid that helps keep the dust and light off the photos which will help protect them and the side slots allow the photos to be taken out of the box from the sides which will keep those finger prints off them too and the lid closes completely so that you can use it for gifting homemade cards along with corresponding envelopes! The file is compatible with both the 12x12 and 8x12 mats.
Here is the tutorial:
1. Cut the pieces and fold on the score lines.
2. Apply adhesive to the tabs of the large piece and adhere the tabs to the box sides. It should look like this now.
3. Grab the lid piece and place adhesive on the tabs and adhere the tabs to the sides.
4. Next cut and fold the remaining piece.
5. Place adhesive in the lid area
6. Line up the piece with the lid piece and adhere the piece inside the lid piece as shown.
7. Next turn your main piece over (with cut-out ends) and apply adhesive to the bottom.
8. Adhere the piece to the bottom of the main piece.
9. Turn the piece over and fill with photos or cards.
10. Close the lid.