
 Today I am going to show you how to create a Gift Wallet! This wallet works perfect for housing several gift cards or even homemade coupons (for date nights, homemade dinners of your choice, back massage,etc.)
  You will need one piece of double sided cardstock cut to 8 1/2" x 11". Border punch one end of the 8 1/2" length (shown in photo). Score once down the center at 4 1/4" then turn your cardstock and score at 2 1/4", 5 3/4", 7 3/4", and 9 3/4".
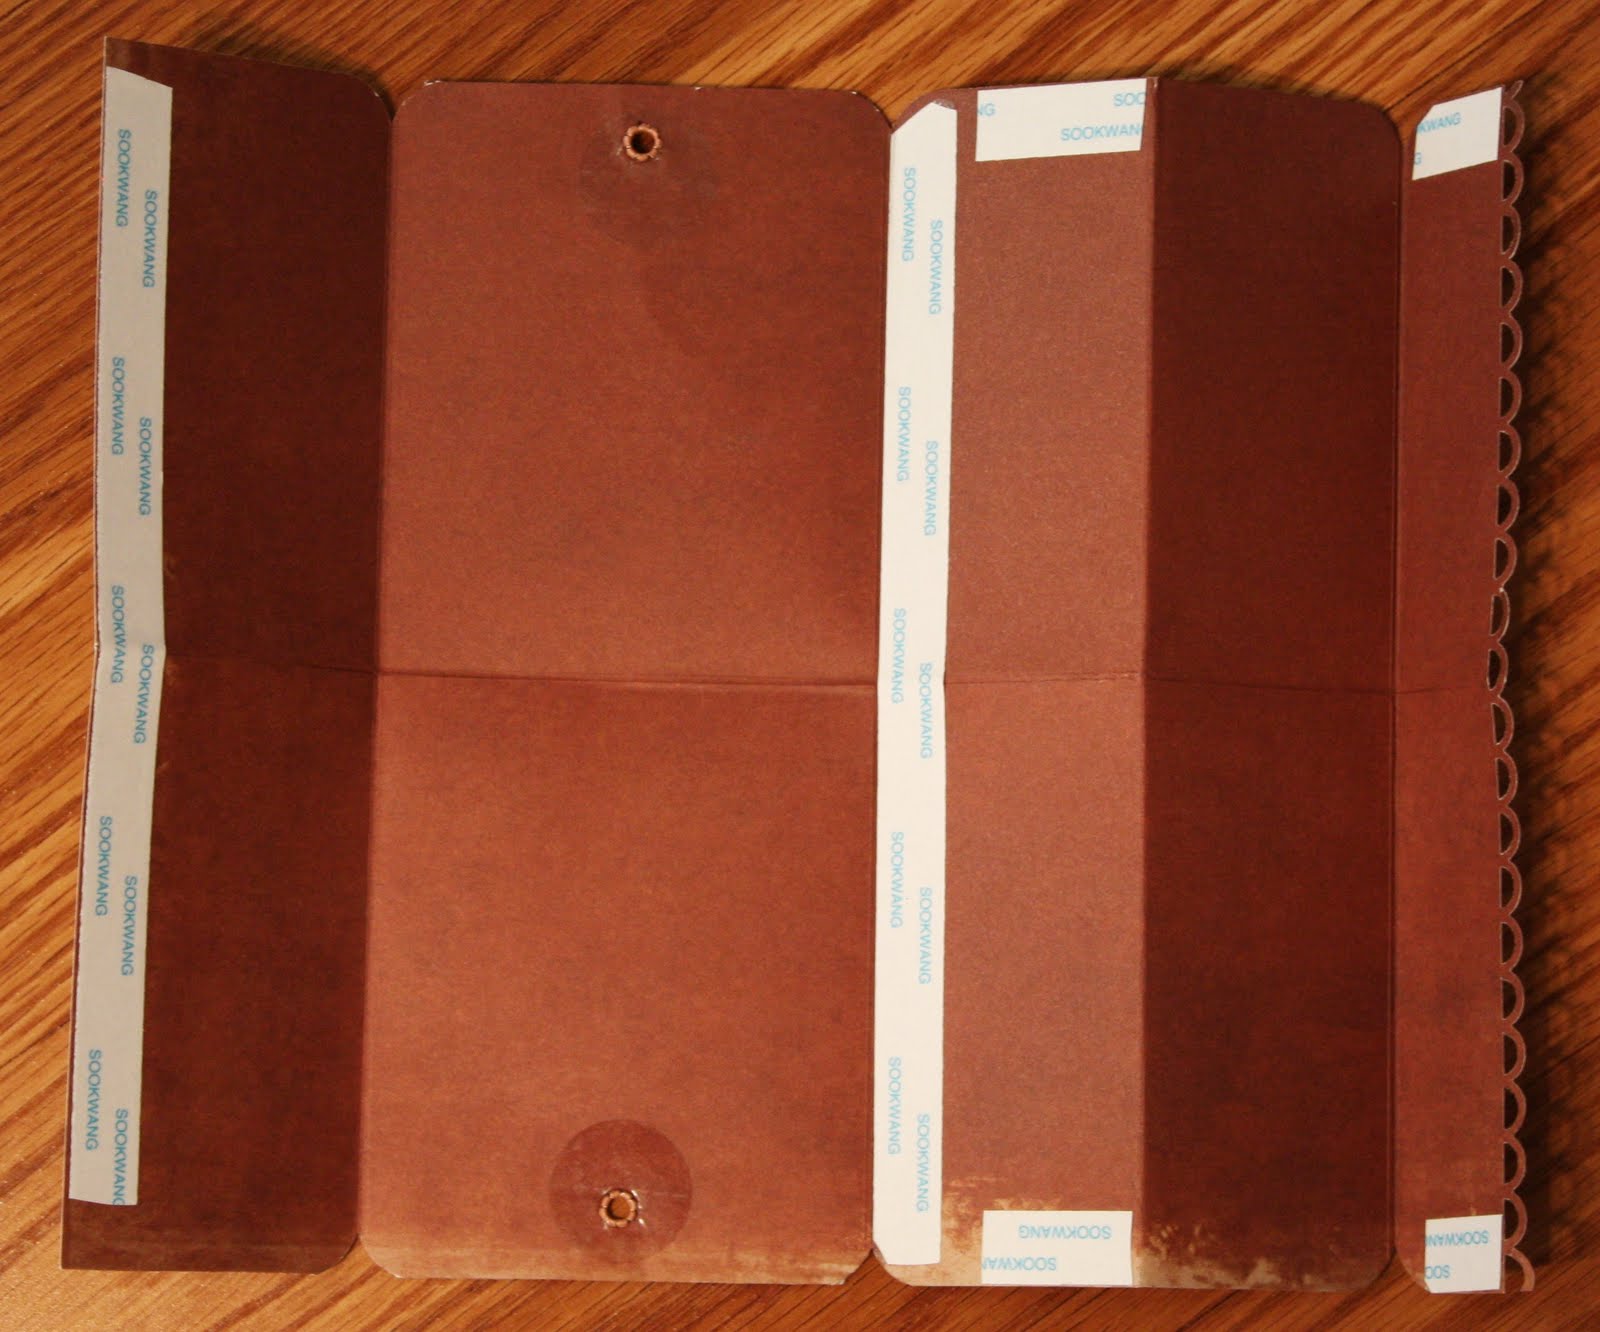
On the backside of the cardstock add a strong adhesive to the areas shown in the photo. In the two larger areas, punch a small hole in the center edge and add in an eyelet on each side. Cut two 4" pieces of twine and thread each eyelet so that the twine comes out on the right side of the cardstock, taping the end of the twine down on the backside of the eyelet. Fold the left side flap down toward the back of the eyelets, fold the border punched side up to form a pocket and then fold the other adhesive section up on top of the first flap you folded.

Under the boder punched pocket, you will need to add more adhesive and then press down to match the corners.
 Your Gift Wallet should look like this! You are ready to add in your gift cards or coupons to the inside and then decorate the front as you wish! To close the wallet, tie the two pieces of twine together to form a bow.
Supplies:
Misc: Eyelets and Twine
WOW Jamie! I absolutely love this! It would be perfect for the gift cards we give during appreciation days at our school from the PTO! Your step by step photos are perfect! Thank you so much for sharing!!!
ReplyDeleteMelissa
Fabulous idea... looks great.
ReplyDeleteOMYGOSH!!! You always have the best ideas!! I loveeeeeeeeeeeeeeeeeeee this!!! Sooooooooooooooo clever! :):):):):):):):):):):):):):):):):):):):):):):):):):):)
ReplyDeleteThis is so cute! What a wonderful idea!
ReplyDeleteThis is such a cool idea!! Saved this is in my fave file...hope all is well your way. Have a great day!
ReplyDeleteso clever! This would be great for SO many things! thanks!
ReplyDeleteKewl idea. I need to make some of these for Christmas:)
ReplyDeleteHoly cow! How adorable is this? What a super fun idea! I love it Jamie! Thanks for the instructions!
ReplyDelete