***This is my second post, please scroll down to see the Frosted Designs challenge***
Have you been over to the new Sharing Memories Scrapbooking site yet? Be sure to stop by and grab this pyramid box for free! You can get the SCAL or SVG files by clicking HERE!
This week at Frosted Designs we are having a color challenge!
Aqua, Brown, & Lime green
Be sure to stop by and check out the rest of the design team and enter yours!
 Supplies:
 Black Glitter Glitz (P K Glitz)
P K Sticky Paper, 1/4" (P K Glitz)
Paper: The Natural Stack (DCWV), Black and White Cardstock (DCWV)
Stamp: Autumn Leaves
Font: Quick Type II Mono
Ink: Chestnut Roan (Cat's Eye Chalk Ink)
**This is my second post of the day, please scroll down to see my altered box!**
Helmar has announced their 2010 Helmar USA Design Team and I am very excited to announce that I have been asked to do a Guest Designer spot in June! You can click on the link below to see the Helmar posting:
Our school interns are at the end of their term and we are planning their gifts! Hannah and I decided to make a pencil box that her intern could use in her real classroom next year. She came up with the idea to make two of the sides chalkboard so that Ms. Parker could write reminders and class items! How sweet and clever is that!? We found a spray can of Krylon Chalkboard paint (this stuff is amazing)! We added some paper and embellishments and of course some glitter and this is our box:
Supplies:
1/4" Sticky Tape (P K Glitz)
Glitter Glitz: Poppy Jasper and Sea Mist (P K Glitz)
Apple Silhouette w/WonderFilm Pieces (P K Glitz)
Font: CK Ali
Jewels: Kaiser Craft
Paper: DCWV and K&CO
Punches: Label Two, Nestabilities (Spellbinders)
Ribbon: Provo Craft
Flower Embellishments and Buttons: Making Memories
Do you remember this little guy? I had turned him into an SVG file (in this post) and posted him out for all to use! I was super excited when Jeannie sent me an email with what she created with him...take a look! Isn't the card just adorable! She made 12 of them!
Jeannie, Thanks so much for sharing your creation!
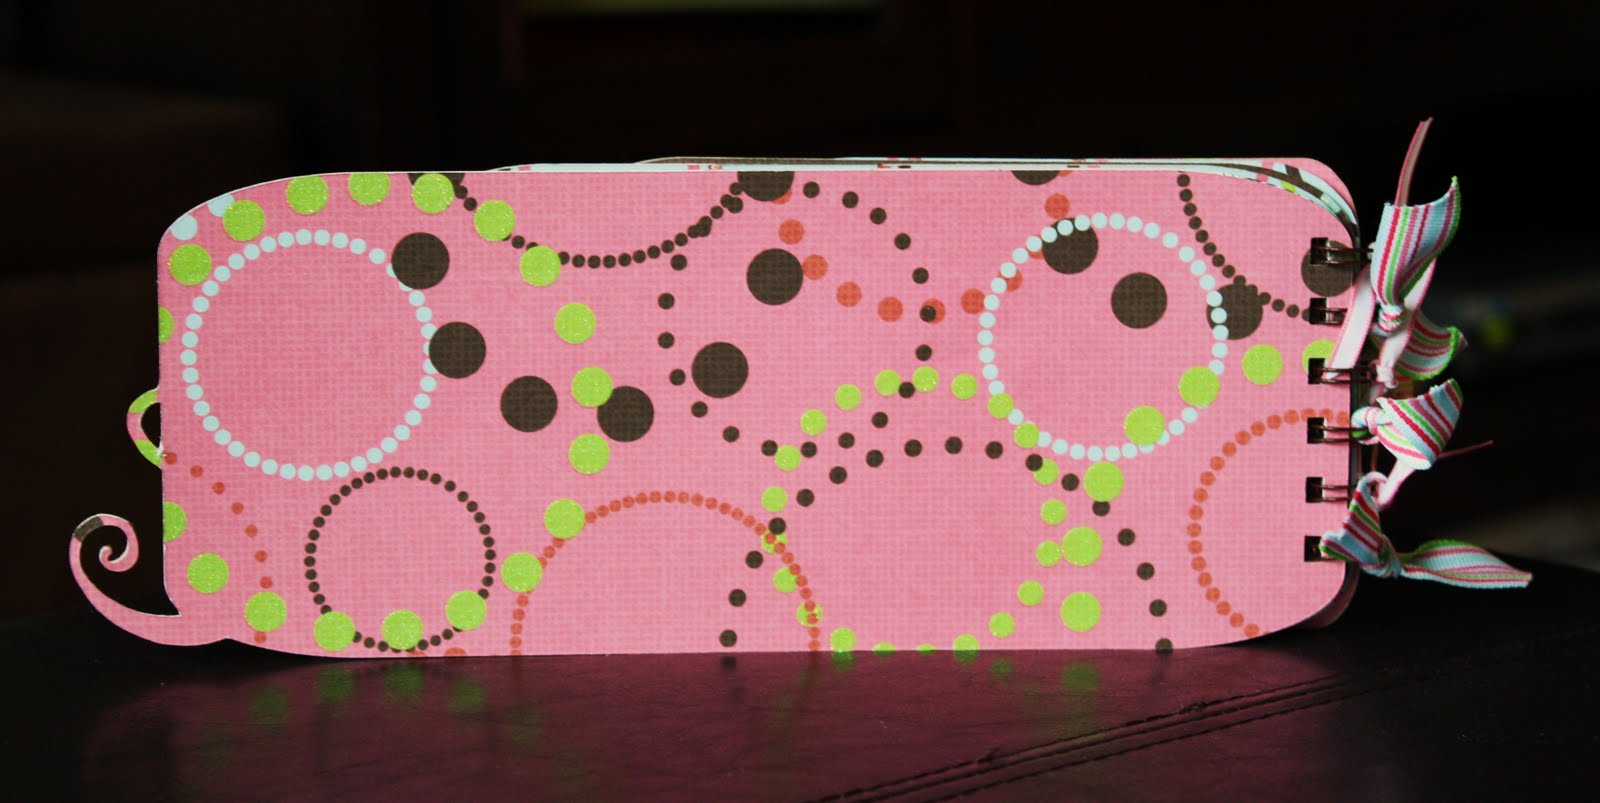
For this word book, I used Cricut Design Studio and Mini Monograms. This cartridge has a pre-welded 'smile' that I have always adored, which is what I based this book off of! If you want the cut file, you can get it HERE. This is the back of the book:
and another view of the front!
Supplies:
Cricut Design Studio
Mini Monograms Cricut Cartridge
Paper: The Paper Studio (Oops a Daisy stack) and Bazill Cardstock
Ribbon: Heidi Swapp and Bo Bunny
Jewels: Kaiser Craft and Heidi Swapp
Acrylic and Chipboard Flowers: Heidi Swapp
Punch: EK Border
Font: CK Ali
***This is my second post of the day, please scroll down to see the Frosted Designs challenge***
This is one of my favorite days of the year at school! We get to go wild and crazy with the kids' hair! The kids love coming up with all kinds of ideas, Gannon's typically focuses around a mohawk and Hannah's usually in some form but always sticking up (which is tricky, this girl has a lot of thick hair, a lot)!
Hannah's hair took three popsicle sticks, about 25 rubberbands, and 30 minutes!
Gannon's hair took four big globs of gel, a lot of ratting, and about 10 minutes!
They were both thrilled with the results and got lots of great comments upon entering the school! Gannon has a field trip today to see Disney's Oceans...luckily, I will sitting beside him and not behind him! :)
This week at Frosted Designs the challenge is to do a masking technique. For this card, I used the Maya Resist and inked over it with my Cat's Eye Chalk Ink. I am still playing, but it is growing on me! Supplies:
Core’dinations – Sable Collection (Darling & Rendezvous)
Cat’s Eye Chalk Ink – Dark Brown
Maya Road Resist
I created this little mini album for Scrap Tales using the Little Yellow Bicycle, Generation Z Paper.
Supplies:
Little Yellow Bicycle – Generation Z Paper
LYB Gen Z Clear Stickers
EK Border Punch
Black Pen & Marker
Font: Tahoma and Weltron Urban
Supplies:
Paper - DCWV and The Paper Studio
Fibers - Making Memories
Font - Corinthia
Jewels - Kaiser Craft and Misc.
Punch - EK Border
Little Yellow Bicycle – Generation Z
Generation Z Paper
Generation Z Clear Cut – Sahpes
Generation Z Ribbon
-----------------
Cricut 6” Cirlce
EK Border Punch
Black Pen & Marker
Font: Tahoma and Corinthia
Sooo, this is my very first word book! I had so much fun creating this book in Cricut Design Studio and learning many things along the way! I am already thinking of excuses to make others...now I get why all of you have been doing this for so long! :)
Okay - so here it goes!
and of course, the back!
So there you have it! The very first one!
To create this book, you can download the cut file HERE! Once you have the cut file downloaded, you will want to cut the book base (I use old calendar covers) with a multi-cut 2, there is a cut page for each letter. Once you have your base cut, you will need to begin cutting your pattern paper for the pages. To do this, I cut each letter with the pattern paper facing up and then cut again (using an older/less sticky mat) with the pattern paper facing down, this will give you the back of the page. Glue your pages to your book base, lining up the letters. Use your Cat's Eye Chalk Ink to ink the edges of the pages. Once you have all the pattern paper on the pages, cut your letters (there is a separate tab for these cuts). Ink the letters then adhere the shadow letters directly on the book letters then take the regular cut of the letters and adhere them to the shadow letters, centering. Add in your photos and journaling and decorate as desired. Once you have the book the way you want it, punch the pages with the Bind-It-All and attach the wires! Supplies:
Paper: DCWV, The Guy Stack and Kraft paper
The Robin's Nest Dew Drops
Ribbon: American Crafts and Misc. Twine
Bind-It-All Wires
Font: Arial Narrow
Staples: Making Memories
Gannon has started flag football! He has tinkered with a couple sports, but always changes his mind before acutally participating in any. We are very excited that we have made it to a practice and he is still wanting to attend - he is even practicing at home! Big step for him and I can't wait to capture more photos of him playing! :) For this layout I went all boy...yes, that is right, you can use glitter for boy pages too! I cut shadow letters and stars in kraft cardstock and then used my P K Sticky Paper to cut out the same letters and stars in a regular cut. I glued the regular cuts on to the kraft shadow cuts and then lifted the top layer of the Sticky Paper (to expose the sticky) then added Glitter Glitz in Red Hot Chili Pepper, Sea Mist, and Mystic Green. I love how the Glitter Glitz just picks up the colors from the papers!
Supplies:
Glitter Glitz: Red Hot Chili Pepper, Sea Mist, and Mystic Green (P K Glitz) Font: Arial Narrow
Ink: Chestnut Roan (Cat's Eye Chalk Ink)
Lettering andStars: Plantin Schoolbook (Cricut)
Paper: The Guy Stack (DCWV) and Kraft
Punch: EK Border
Ribbon: Twine
Staples: Making Memories
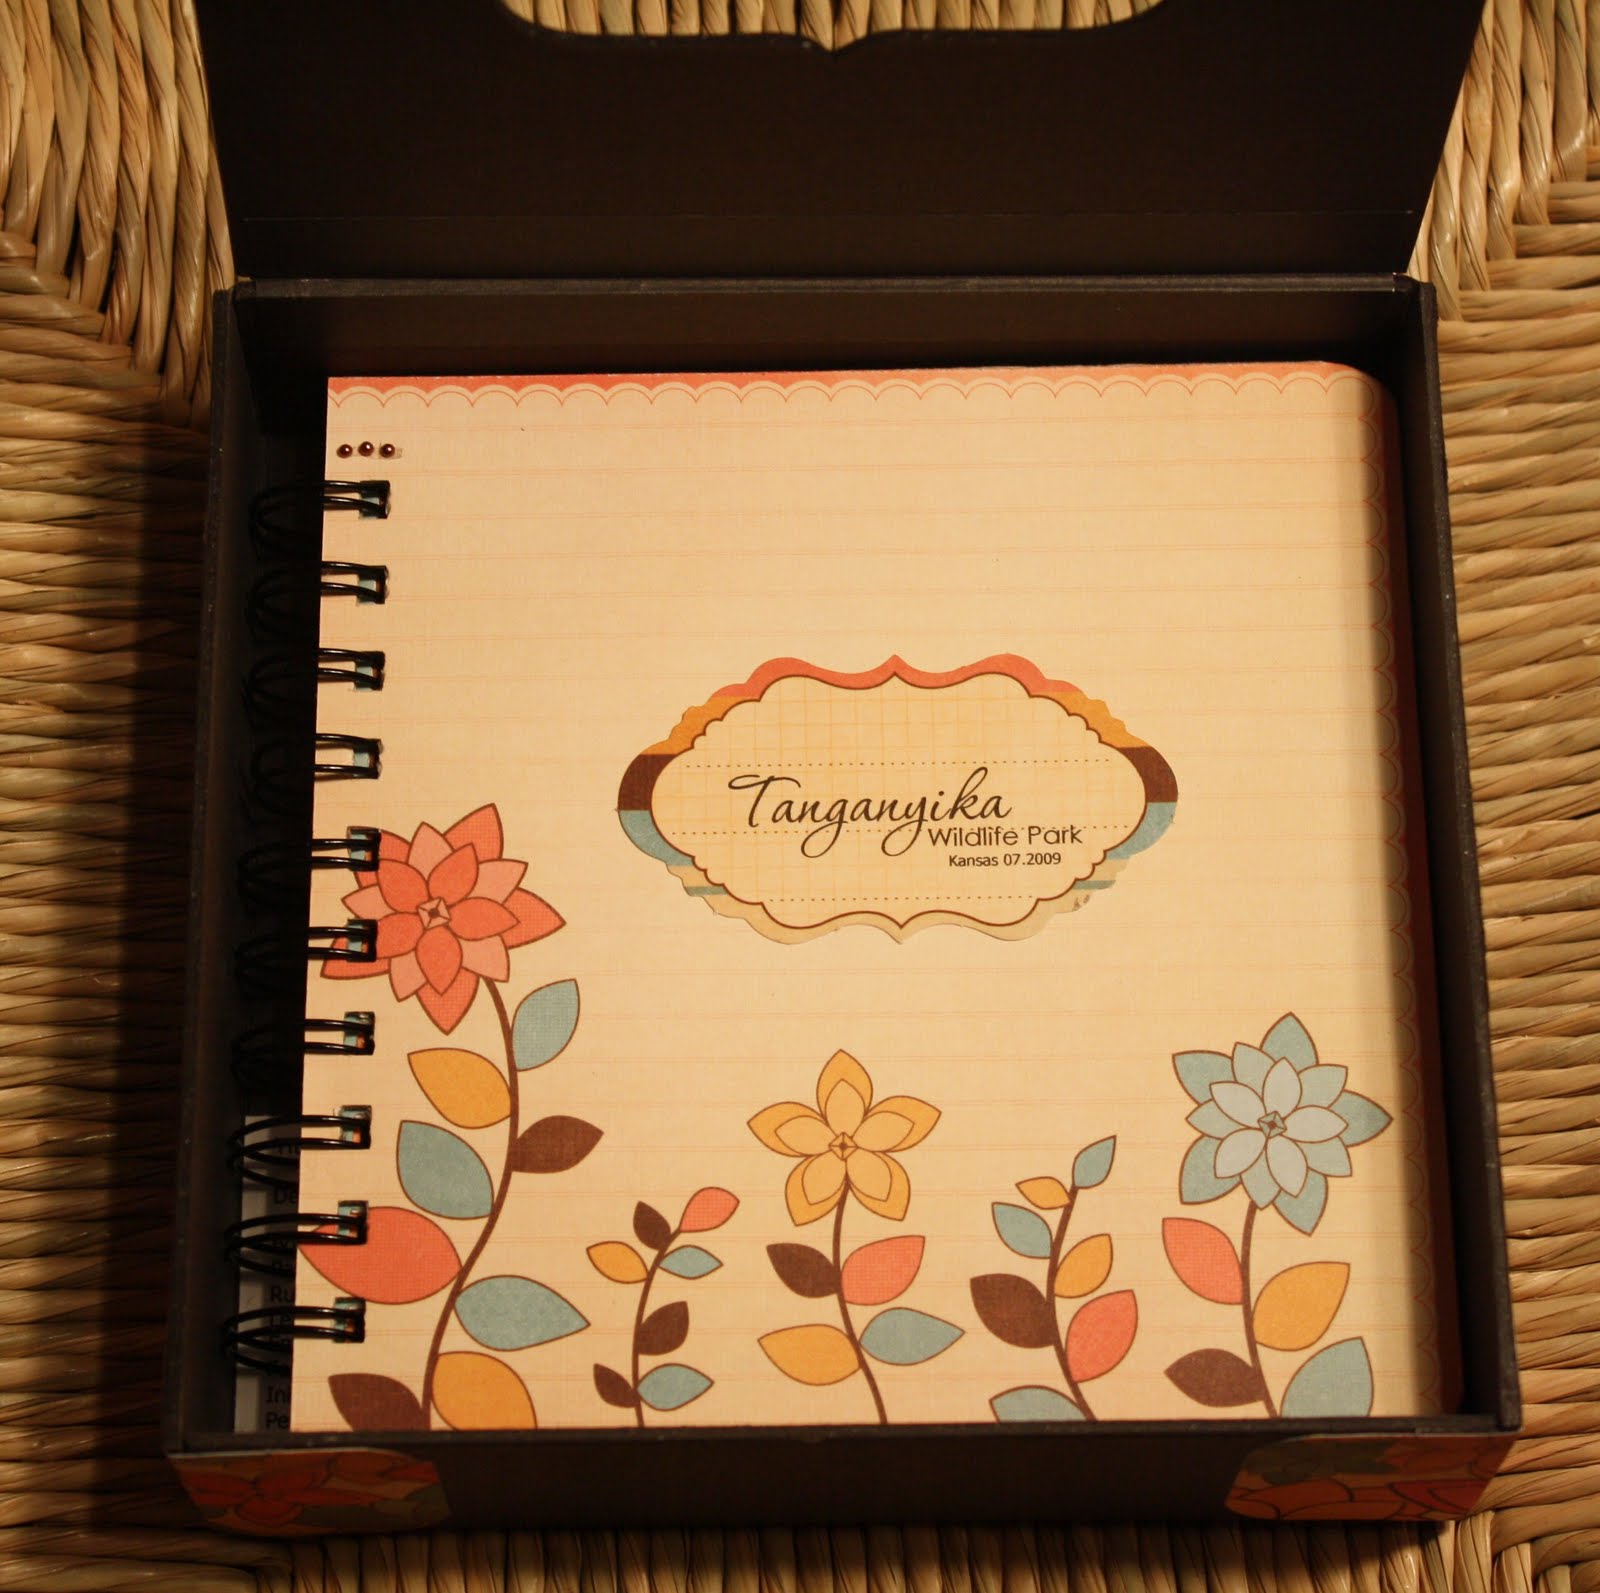
Scrap Tales put together a packet of Kaiser Craft's Peachy Keen collection along with a Cosmo Cricket box for me to play with and a mini album was born! I had so much fun with the products and creating the mini album! Supplies:
Box: Cosmo Cricket Memory Box
Paper: Kaiser Crafts – Peachy Keen Collection (6x6 pad)
Rub-ons: Kaiser Crafts – Peachy Keen
Letter Stickers: Kaiser Crafts – Peachy Keen
Embellishments: Kaiser Crafts – Peach Keen
Font: Corinthia, Tahoma, and CK Ali
Ink: Cat’s Eye Ink, Black
Pen: Copic Multiliner 0.3, Black
Uni-Ball Signo Broad, White
Zutter Bind-it-all and ¾” Wires, Black


